At the heart of every coffee cherry is a green coffee bean (or two). Though technically, they’re seeds. And, covered by silver skin, more greyish in color.
In itself, a raw coffee bean is pretty unremarkable. Soft and spongy with a faint earthy taste and smell.
Yet heat the thing enough and it transforms into the sublimely scented and gloriously flavorful crunchy bean we know and love.

Even more than the type of green coffee bean and the brewing that comes later, it’s the roasting that contributes most to the flavor and aroma of your cup o’ joe - - a beverage that’s been refreshing humankind for the last half-dozen centuries.
Hot on the heels of our introduction to coffee roasting, we’re back delving deeper into the subject - - the why and, most importantly, the how of roasting coffee at home; the basics of how it all works; and rounding off with some pointers on how to up your home roasting game.
TABLE OF CONTENTS
- Why roast coffee at home
- 5 easy steps to roasting coffee beans at home
- Decide on Your Roasting Space
- Bag Your Beans
- Choose Your Roasting Method
- Get Your Roast On
- Cooling & Degassing Your Beans
- How to level up your home roasting
WHY ROAST COFFEE AT HOME
These days, there are stacks of ready-to-go coffee products on tap; from 3-in-1 instant to pre-ground making do-it-yourself coffee roasting not nearly as convenient. So why bother roasting at home at all? Glad you asked...
-
UTMOST FRESHNESS - - Far more often than not, store-bought roasted coffee beans are long past their prime. Perhaps there aren’t any decent roasting outfits in your neighborhood; or maybe they simply don’t stock the roasts you like.
-
GREATER CONTROL - - Fine-tune the characteristics of your coffee. Tweak the flavor, acidity, body, bitterness, or aroma to your complete liking.
-
COST SAVINGS - - In the long run, after any start-up spends, roasting your own is seriously easier on the pocket. The number one reason being that green coffee beans are plenty cheaper than ones already roasted.
-
CUSTOM BLEND - - Craft your own coffee blends from a combo of two or more single-origin beans.
-
KNOWLEDGE GAIN - - Boost your coffee know-how, at the same time as training your palate to better appreciate your daily java.
-
THE BUZZ - - It’s great fun, and incredibly satisfying. Oh, and surprisingly simple - - which leads us nicely to...
5 EASY STEPS TO ROASTING YOUR OWN GREEN COFFEE BEANS AT HOME
1. Decide on Your Roasting Space
Precisely where at home to roast your coffee beans needs some thought.
Above all, plump for a well-ventilated spot - - roasting can belch out a fair bit of smoke. The smell can be rather strong and the pieces of silverskin (‘chaff’) flaking off the roasting beans can make a mess.
Ideally then, roast your beans outdoors.
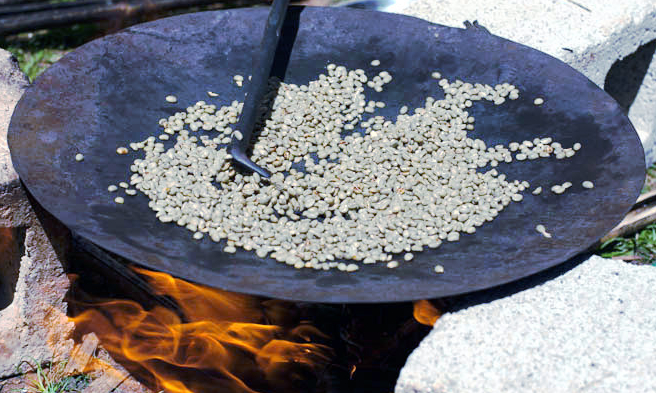
If that’s not doable, crack open windows and power on any extractor fans in whichever indoor room you use.
No matter where you set up, don’t forget to factor in the climate/weather. In particular if roasting al fresco.
The colder the air temperature, say, the longer the roasting time. Higher humidity has the same affect, though is less of a big deal.
2. Bag Your Beans
Courtesy of bricks-and-mortar and online retailers, there’s a mind-boggling pick of green coffee beans out there.
For starters, 25+ major species of coffee plant throughout the so-named ‘Bean Belt’. Though the most common by a mile are those that yield Arabica and Robusta coffee.
Plus, the bean’s country of origin. Within which, especially the more massive nations (think Brazil and Indonesia), different regions and different environments. Even down to ‘micro-lot’ beans grown in a specific area on a specific coffee plantation.
In other words, there can be a world of difference in the quality, taste, and post-harvest processing from one green coffee bean to another.
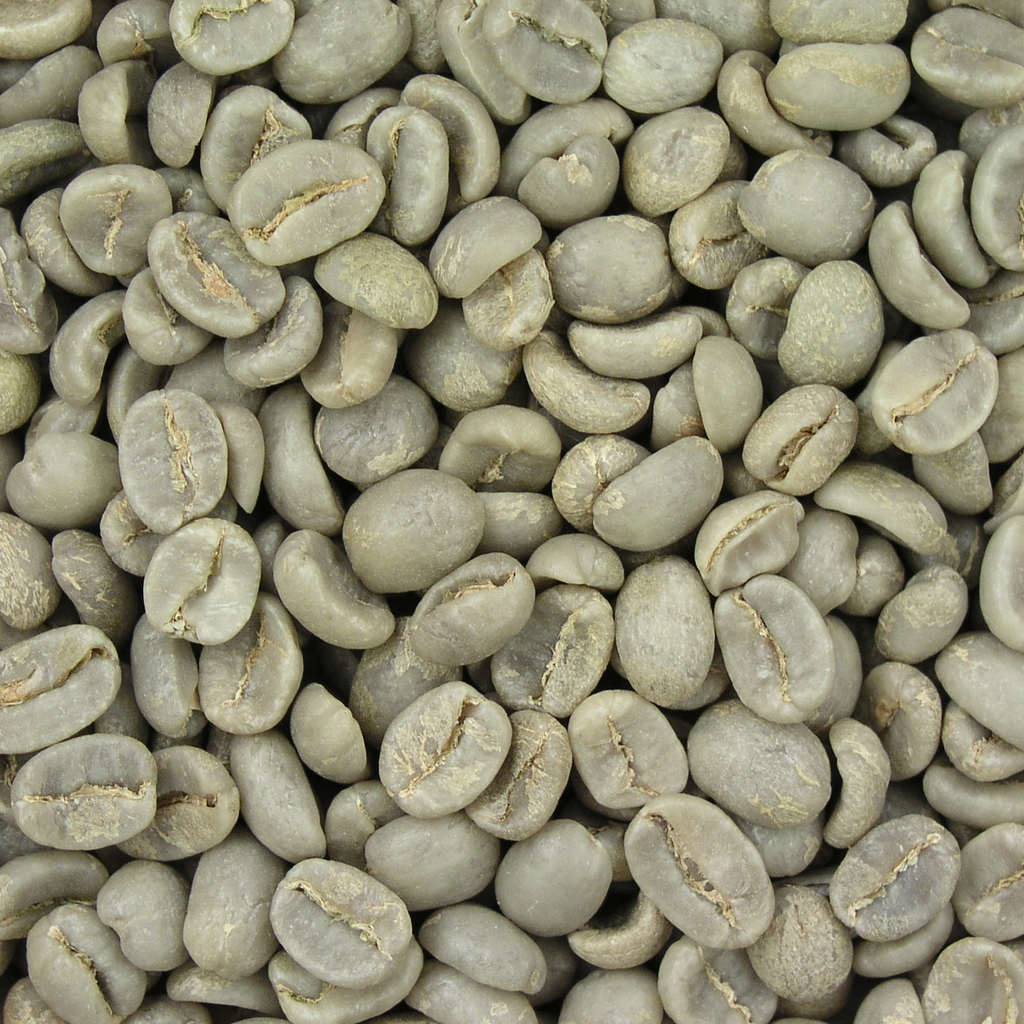
Try kicking off with a sampler pack of unroasted beans - - not only an economical way of getting into home roasting, but gets you up to speed quicker with the coffee characteristics of various origin countries.
That way, your taste buds will get a better idea of which beans make them zing (or not!). Making it easier to narrow down which beans to go for next.
Otherwise, do your homework to really know your beans.
Just a heads-up: for every 1.2/1.3lbs of green coffee beans, bank on getting roughly a pound of roasted beans.
After you’ve snagged your green beans, stash them in a cool, dry, shaded place until you’re ready to roast them.
3. Choose Your Roasting Method
Pan Roasting Coffee
Much the same as how coffee was first roasted in the 15th century.
This classic approach uses a frying pan, cast-iron skillet, wok or, in a pinch, a standard pot. Layering the bottom with green coffee beans. Then ‘cooking’ them on a stovetop or, more authentically, over an open fire.
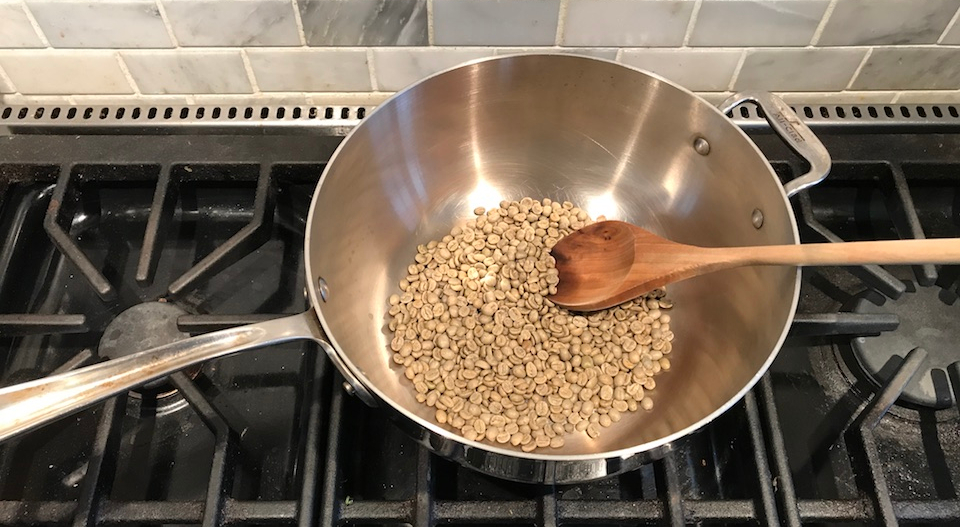
Decidedly old school, but hardly a breeze. Even stirring the beans non-stop, it’s tough to get them evenly roasted. Scorching the beans, though, is far less of a challenge so things can get very smoky. And it can get mighty tedious to keep clearing away the chaff.
Still, with stovetop roasting, no need to fork out extra on equipment. It’s a good opportunity too for hands-on learning because the entire roast process unfolds right in front of you.
Oven Roasting Coffee
Green coffee beans are spread out thinly on a perforated tray with raised sides, or else a cookie sheet. Then popped into a convection oven to ‘bake’.
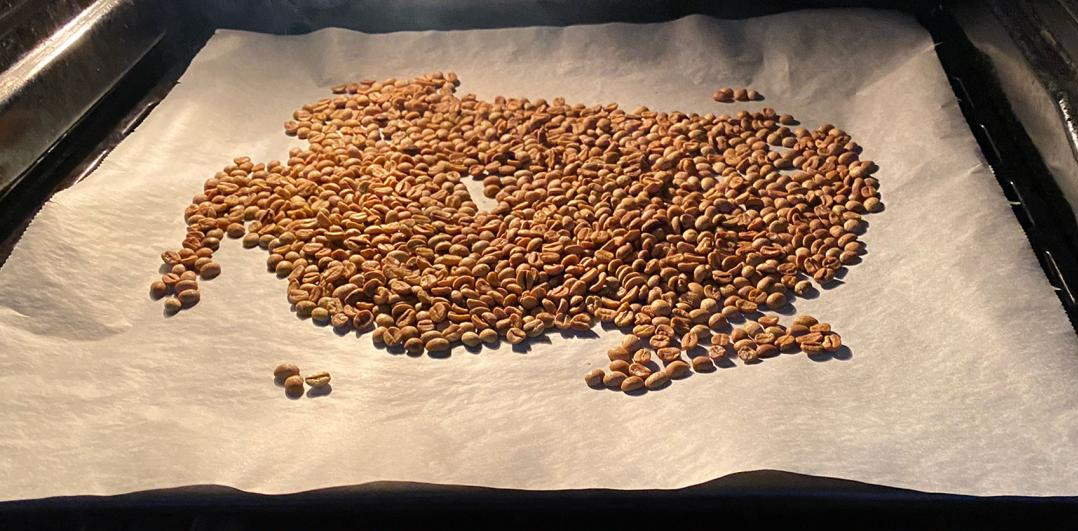
Since the beans aren’t whipped around, it’s decidedly less labor intensive. By the same token though, the beans roast at different rates.
All the same, some folks prefer this mélange (mixture) style roast.
Popper Roasting Coffee
Instead of slinging corn kernels into an electric popcorn machine or a stovetop popcorn popper, toss in green coffee beans.
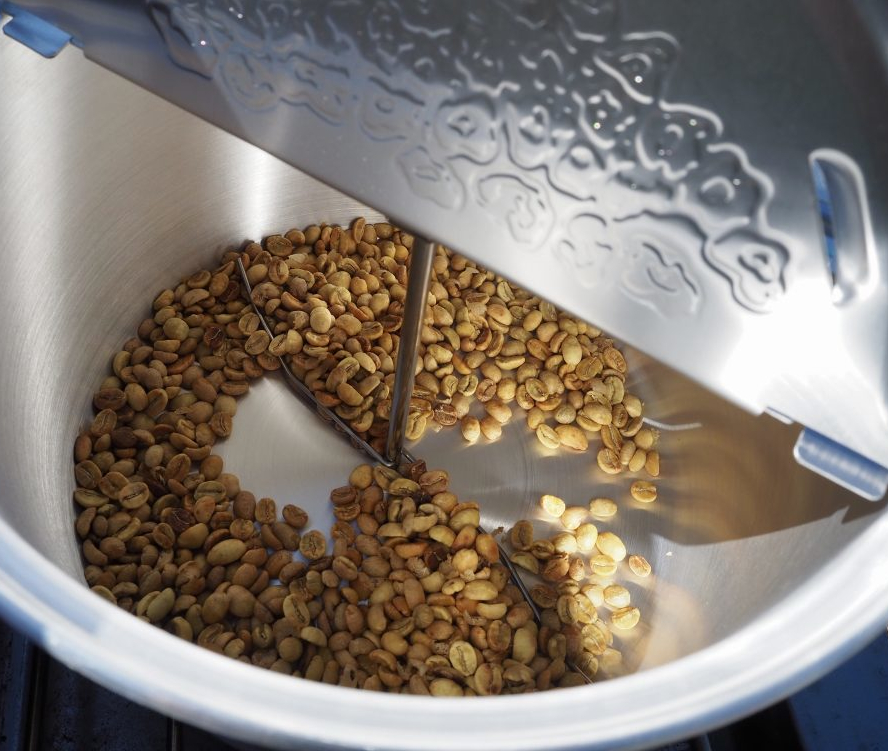
Just steer clear of those popcorn machines with a mesh screen at the base; roasting in them is asking for a house fire.
Bear in mind that popcorn makers aren’t meant to roast coffee beans. So at the very least, any warranty will be voided. Or worse, cause the gadget to conk out from overheating.
In any event, they’re much more foolproof. Give adequate results. And can be snapped up reasonably cheap. Overall, an okay option for casual coffee drinkers.
Purpose-built Coffee Roaster
Pioneered in the ‘70s, countertop coffee roasters are the ultimate in at-home roasting appliances.
Many a coffee roaster stars features like airflow regulation, chaff collection, smoke reduction, timers, temperature control, and an auto-cooling cycle. Not to mention, having pre-set programs are a boon until the user’s properly clued into the roasting process.
Better for more committed coffee buffs, newbie or seasoned, there’s a couple main kinds of home coffee roaster up for grabs:
AIR ROASTER
The more modern of the two, coffee beans are plonked inside a roasting chamber and blasted with heated air. Lifting the beans onto a ‘fluid bed’ of hot air, and tumbling them around.
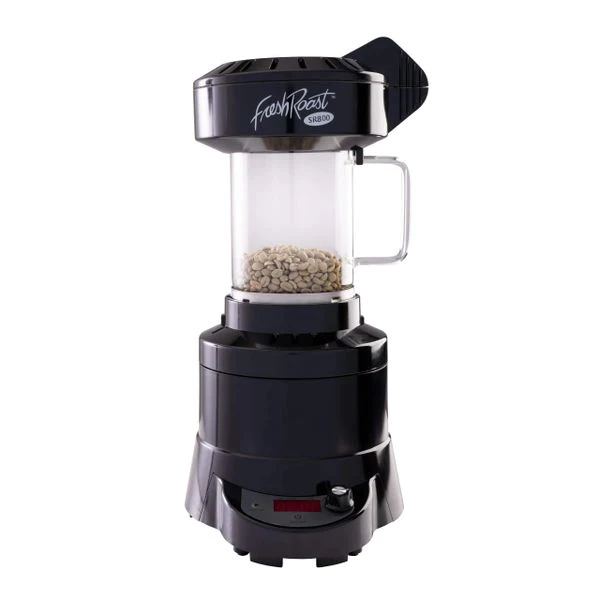
Hot-air roasting heats the beans consistently so what comes out is an even roast.
What’s more, air roasters are compact, energy efficient, budget friendly, and as close to plug ‘n’ play as it gets.
Except they can only manage smaller batches; a few ounces of beans at a time.
DRUM ROASTER
A rotating metal drum with a heat source underneath, and mechanical arms or paddles for stirring. The coffee beans roast by crashing into the hot metal surfaces.
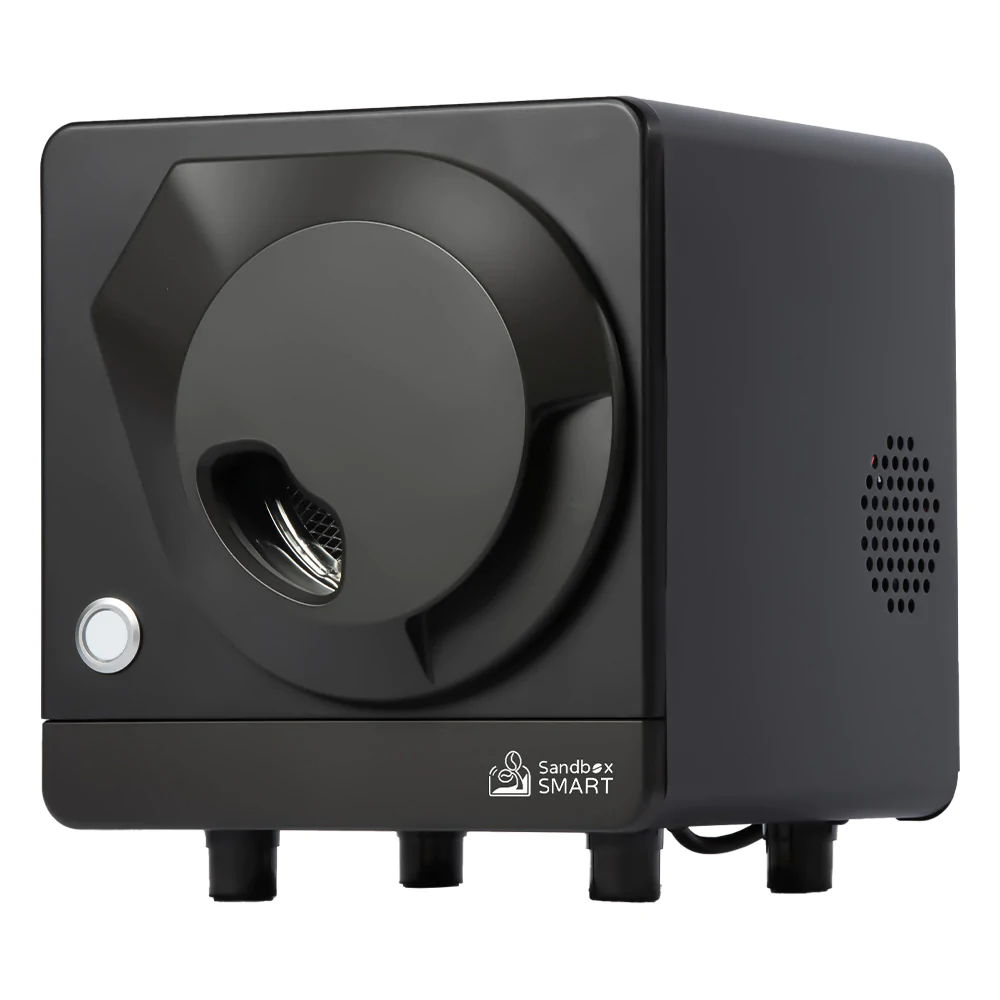
Being churned around inside, the beans don’t heat equally so no two drum roasts are ever the same.
Even so, drum roasting is slower so more complex flavors are whipped up.
Though heavy-duty and up to taking more beans, drum roasters are the least affordable of the two.
Alternative Home Roasters
Among the quirkier roast methods dreamt up by more creative coffee geeks include firing a heat gun into a bread maker. And adapting a gas grill rotisserie.
But no, microwaves won’t do the trick! For one, they’re not designed to roast anything and simply don’t get hot enough.
Whatever roasting device you go with, know the ins and outs of it. Even identical models will have their own nuances.
4. Get Your Roast On
Time to roll up your sleeves - - now comes the best part!
For sure, coffee roasting is an art. But it’s also a science.
Understanding the essence of what goes on during the roast process will give you a much better handle on what comes out at the end.
And lo, the opportunity to refine your technique and brew the coffee that’s right for you. Remember: there’s no such thing as the perfect roast; only the degree of roast that most excites your palate!
In fact, there’s a whole spectrum of coffee roasts, and hundreds of recognized roast varieties. By way of a teaser, as roasting progresses:
-
the darker the color of the coffee
-
the more fragrant the coffee
-
the bolder, smokier, and sweeter the flavor of the coffee
-
the less the origin character (the green coffee bean’s natural flavors) is apparent, and the more the roast flavors take over
-
the less acidic the coffee
-
the more bitter the coffee
-
the fuller the body (‘mouthfeel’) of the coffee
When green beans are roasted, they go through phenomenally complex, and sometimes dramatic, physical and chemical changes.
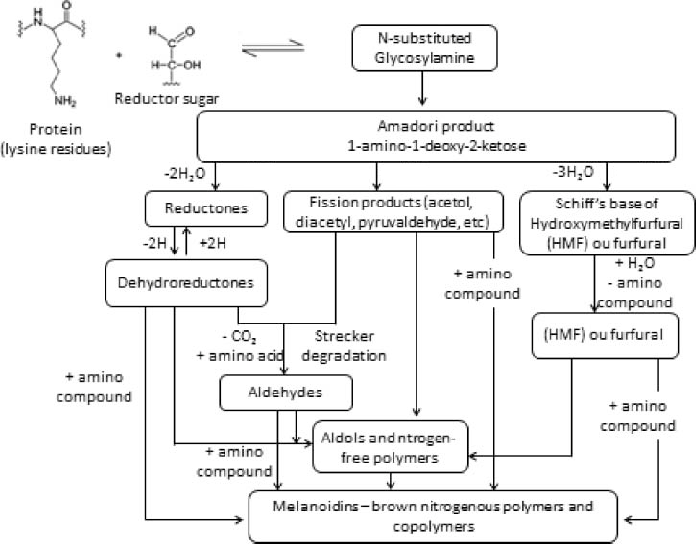
Between them, they provide audible and visual signs as to how well roasted the beans are. Helping you to decide when’s best to whip them out of the coffee roaster. So tune your eyes, ears, and nostrils into what’s going on during roasting.
And whatever you do, don’t wander off! If you’re not paying close attention, your precious beans can go from optimally roasted to ruined in a manner of seconds.
Based on what’s happening to the bean, the coffee roasting process can be neatly divided into a series of distinct stages:
Yellowing/Drying
For the first several minutes of the roast, the beans will stay greenish. Then get brighter, before turning yellow.
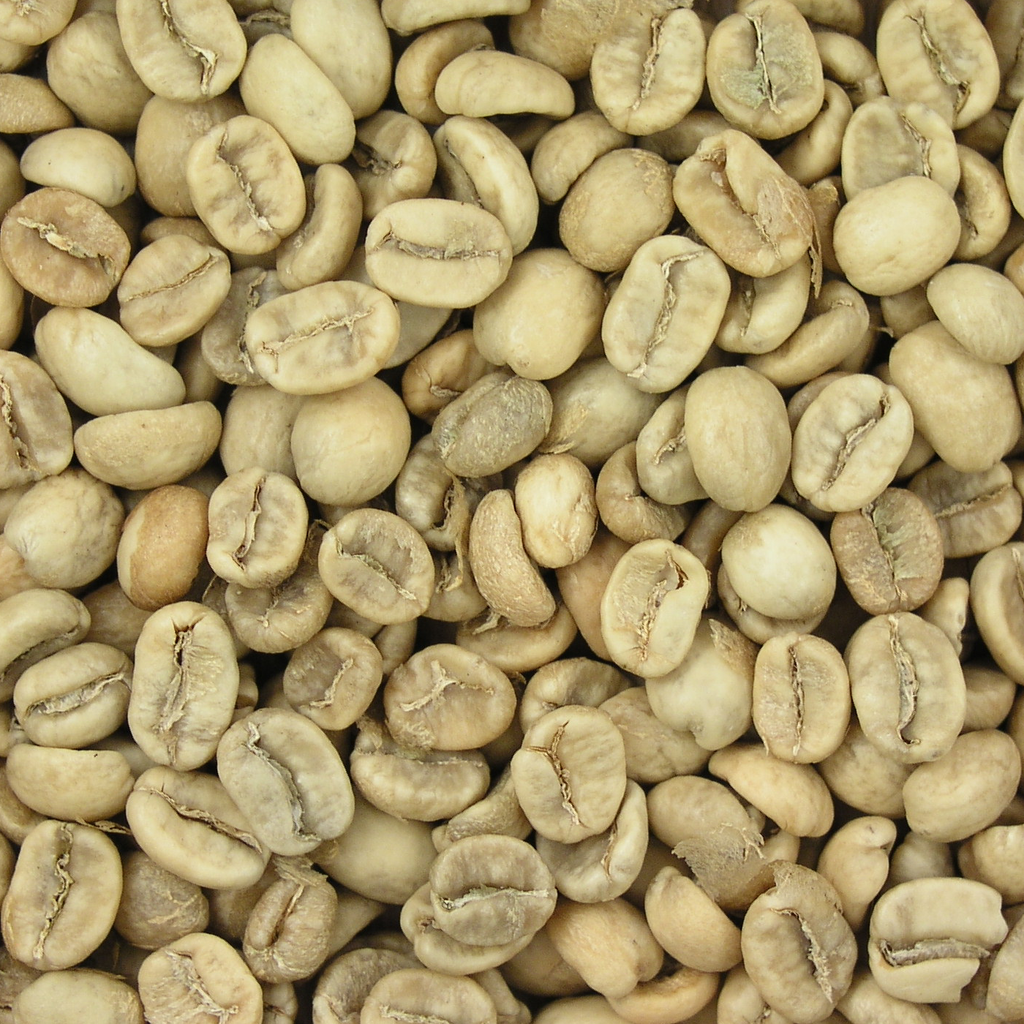
Along with whiffs of dried grass or toasted bread, the beans will start to steam as the water inside starts to evaporate.
Browning/First Crack
This is when the magic starts to happen!
The sugars inside the beans start to caramelize (giving off carbon dioxide in the process). So the beans darken to a light brown, and become sweeter.
Natural oils inside the beans begin to form. One of which, caffeol, is most responsible for the unmistakable aroma and flavor of roasted coffee.
Flecks of chaff start coming off the beans.
Much of the beans’ moisture turns to vapor. So the pressure inside the beans builds. Causing the coffee oils to start rising to the surface, and the beans to puff up.
Eventually, at around 385°F, the beans split open and let out a string of popping sounds - - this is First Crack, and a cue that the beans are officially roasted.
At this point or a touch after, pull the beans out to get a Light Roast - - such as Cinnamon and New England roast varieties:
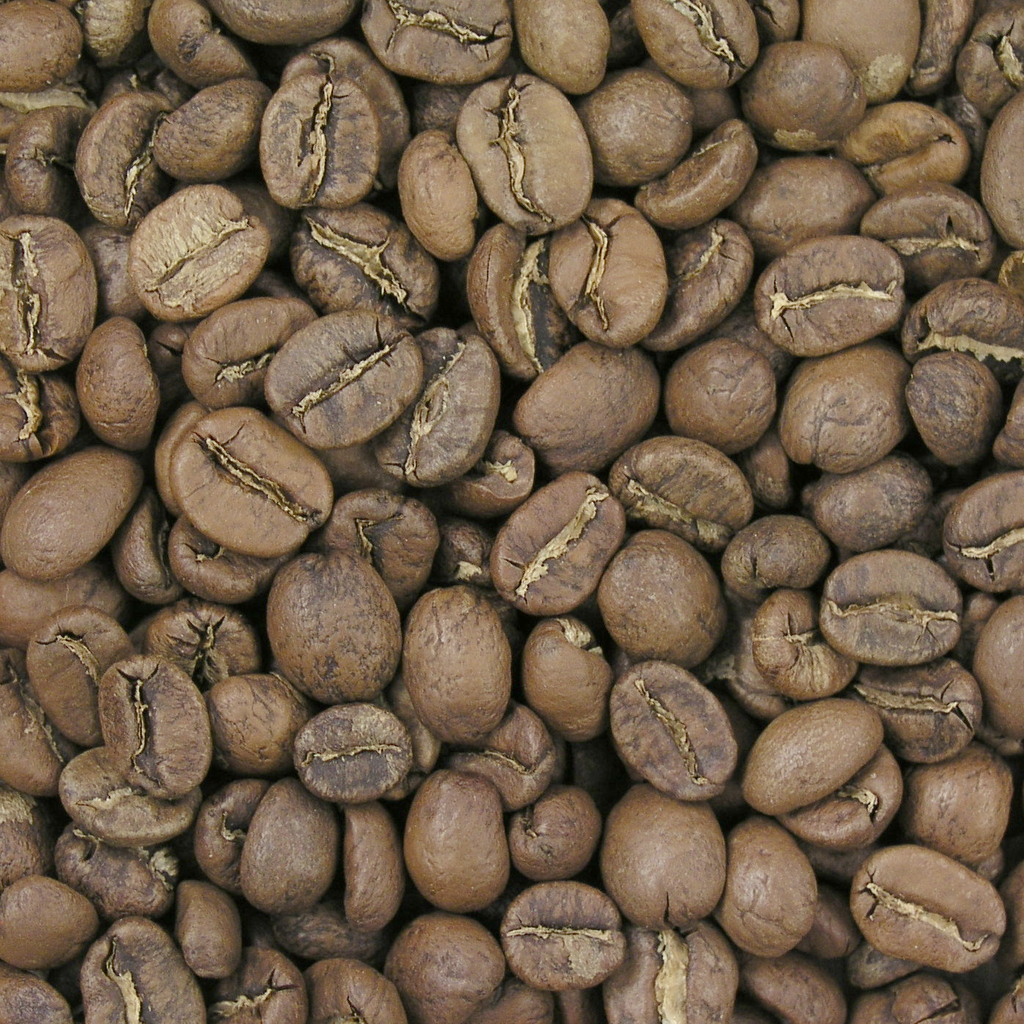

Generally, light roast coffees have a subtly fruity and mellow flavor which doesn’t linger in the mouth. Tangy with a strong aftertaste. And the origin character of the coffee bean preserved.
Development
The sugars keep on caramelizing so the beans darken to a medium brown.
The coffee oils get nearer to the surface.
And the beans continue to swell with more chaff flying off.
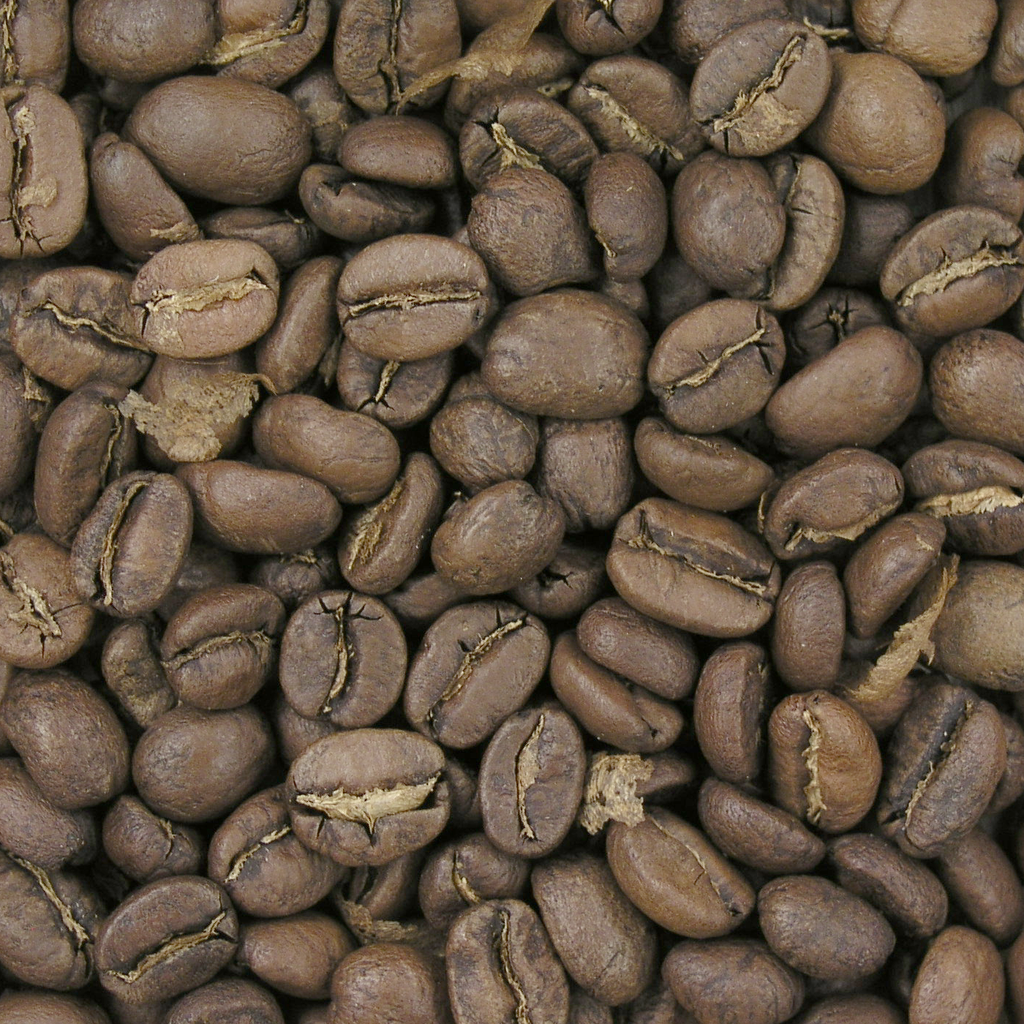
Anywhere between 410°F and 430°F (or from about 30 seconds to 4 minutes after first crack ends), take out the beans if you fancy a Medium Roast - - like City and American roast varieties:
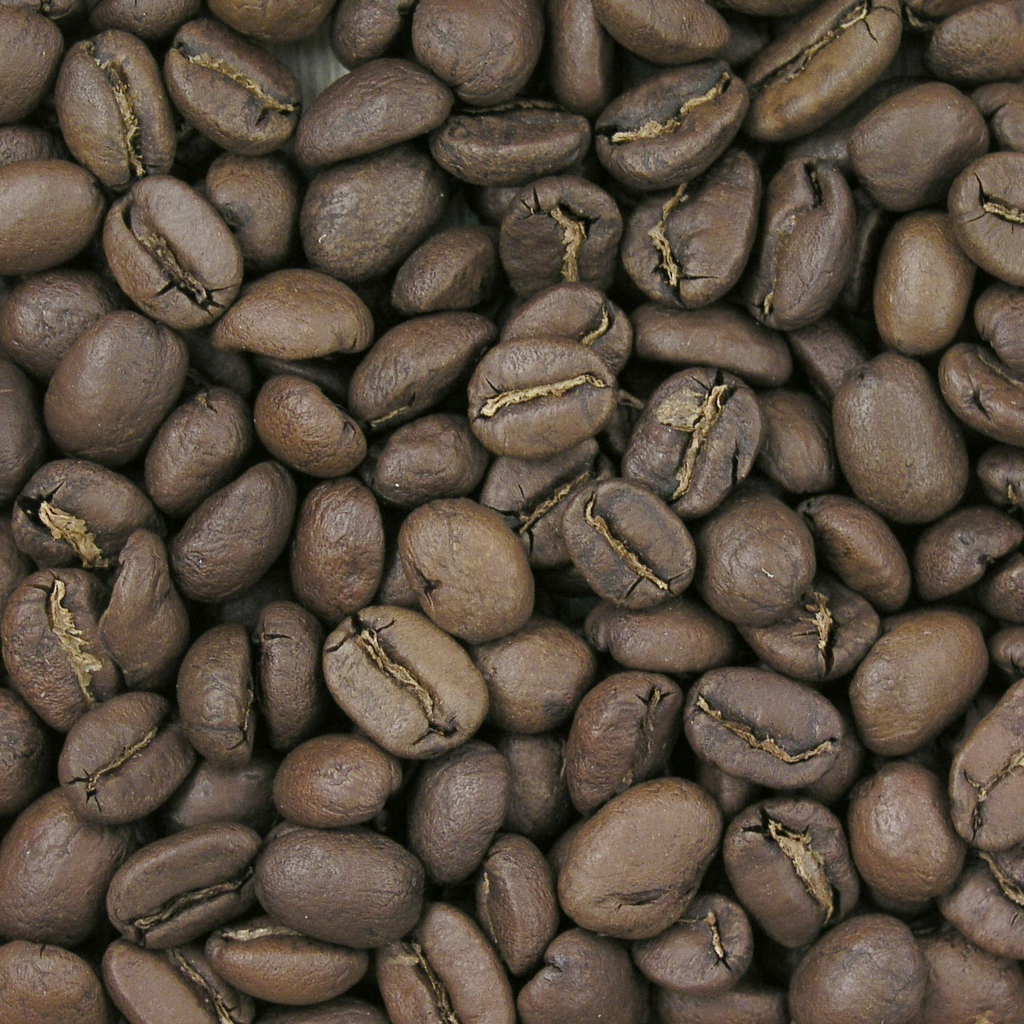
By and large, medium roast coffees have a more intense and fruitier balanced flavor with slightly more body. Maximum smoothness and less sour, but still a strong aftertaste. And the origin character of the coffee bean less obvious.
Second Crack
After heating up to around 435°F to 450°F, the beans sound off again. But this time, more slowly and not as loudly; a bit like the noise rice crispies make after spilling milk onto them - - this is Second Crack.
By which time, the beans have become a rich chestnut brown.
The coffee oils have usually broken through turning the outside of the bean shiny.
Whether bang on second crack or very soon after, remove the beans to enjoy a Medium-Dark Roast - - Full City and Vienna roast varieties, for example:
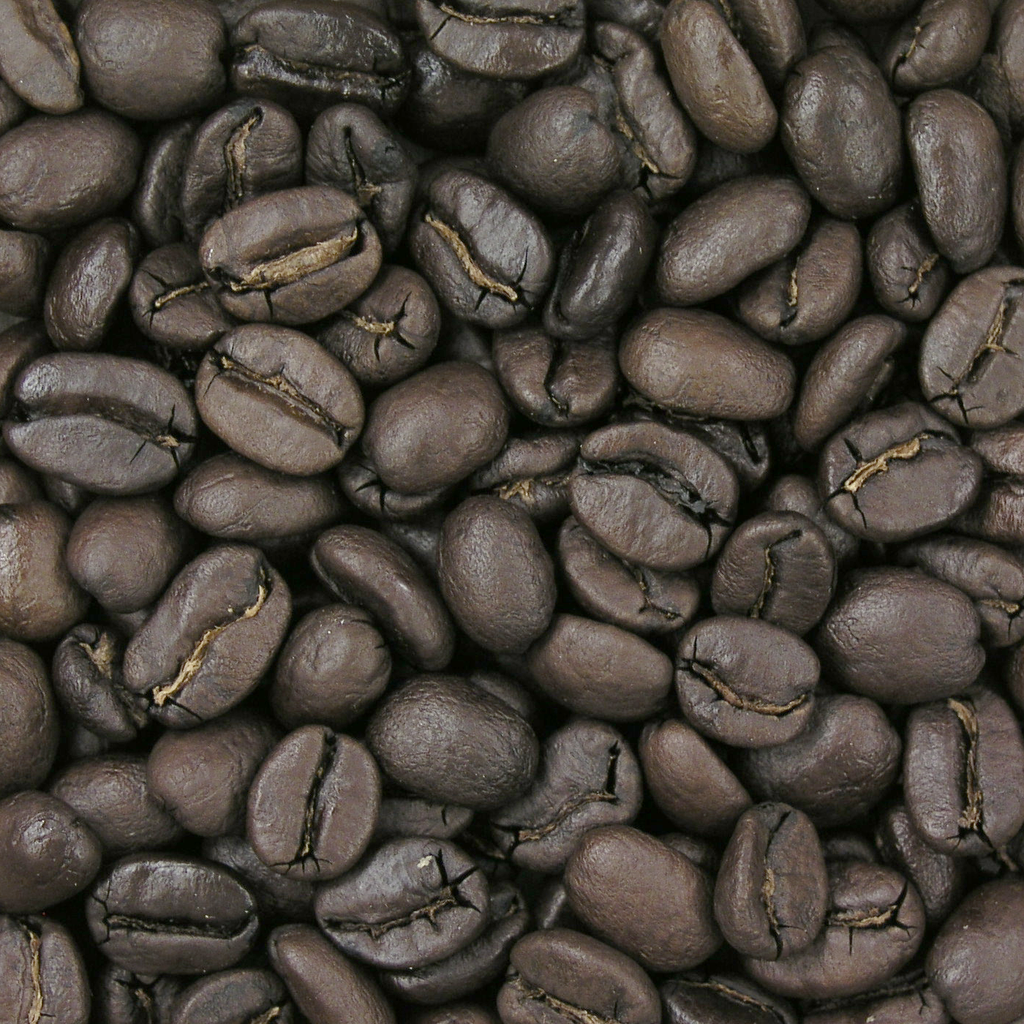
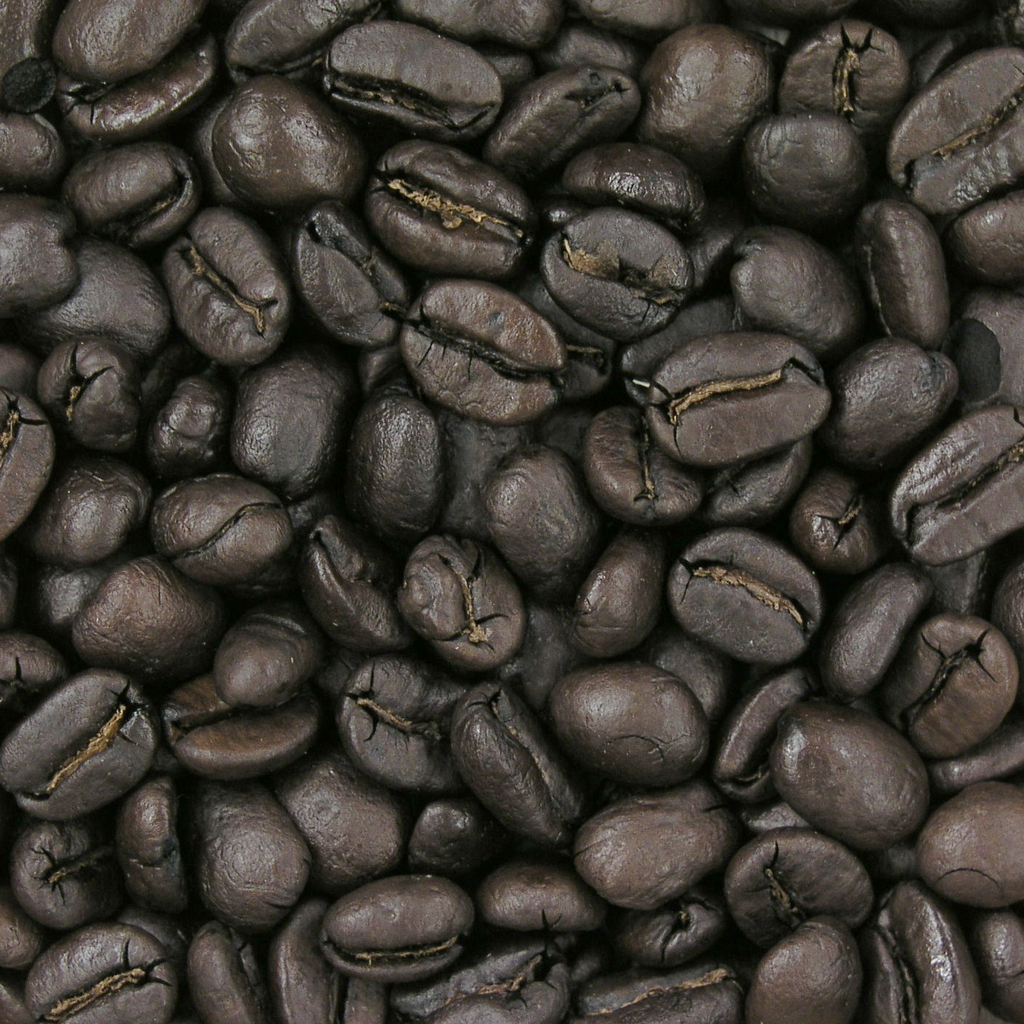
In the main, medium-dark roast coffees have a more toasted and nuttier flavor with a fuller body. Not so acidic, but with a more bitter aftertaste. And the flavors created by the roasting itself overshadow the bean’s original flavors.
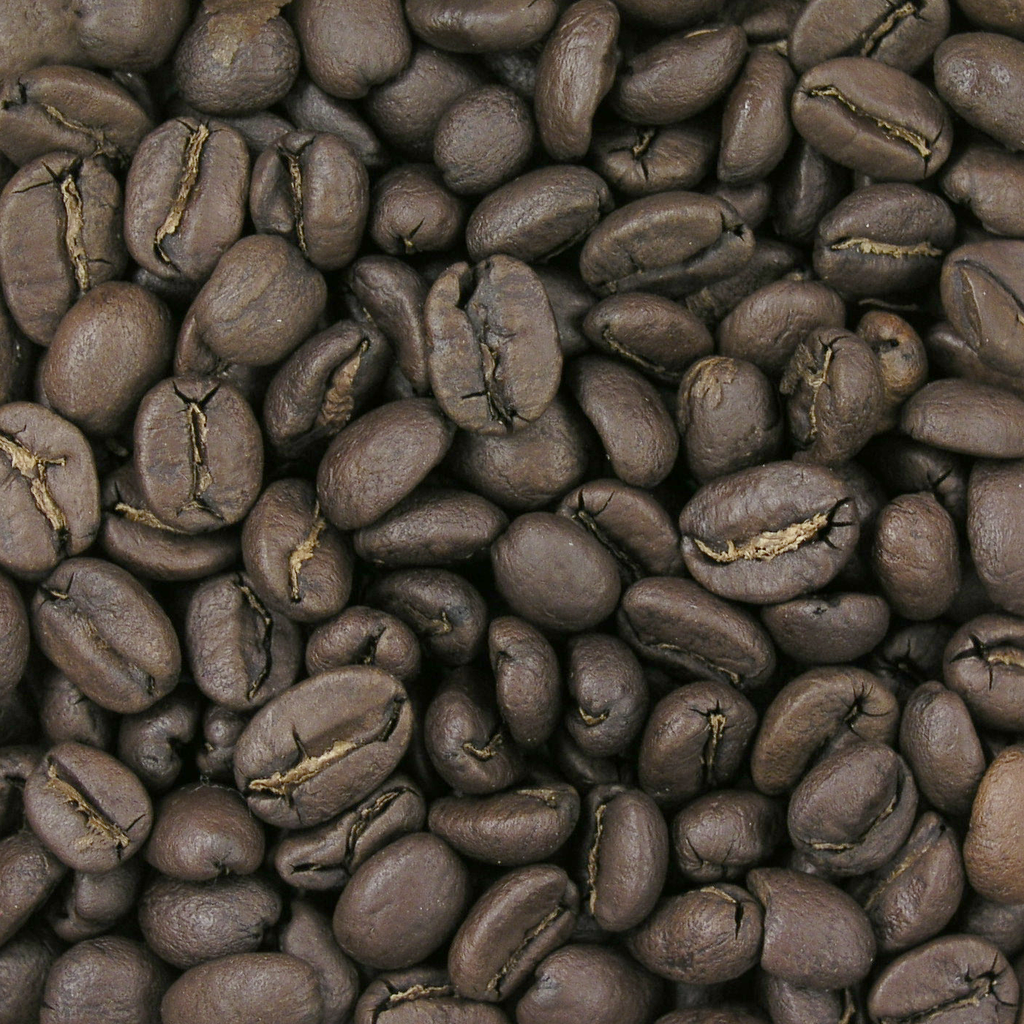
Else, hold your nerve for another 30 seconds to no more than a minute to wangle a Dark Roast - - for instance, French and Italian roast varieties:
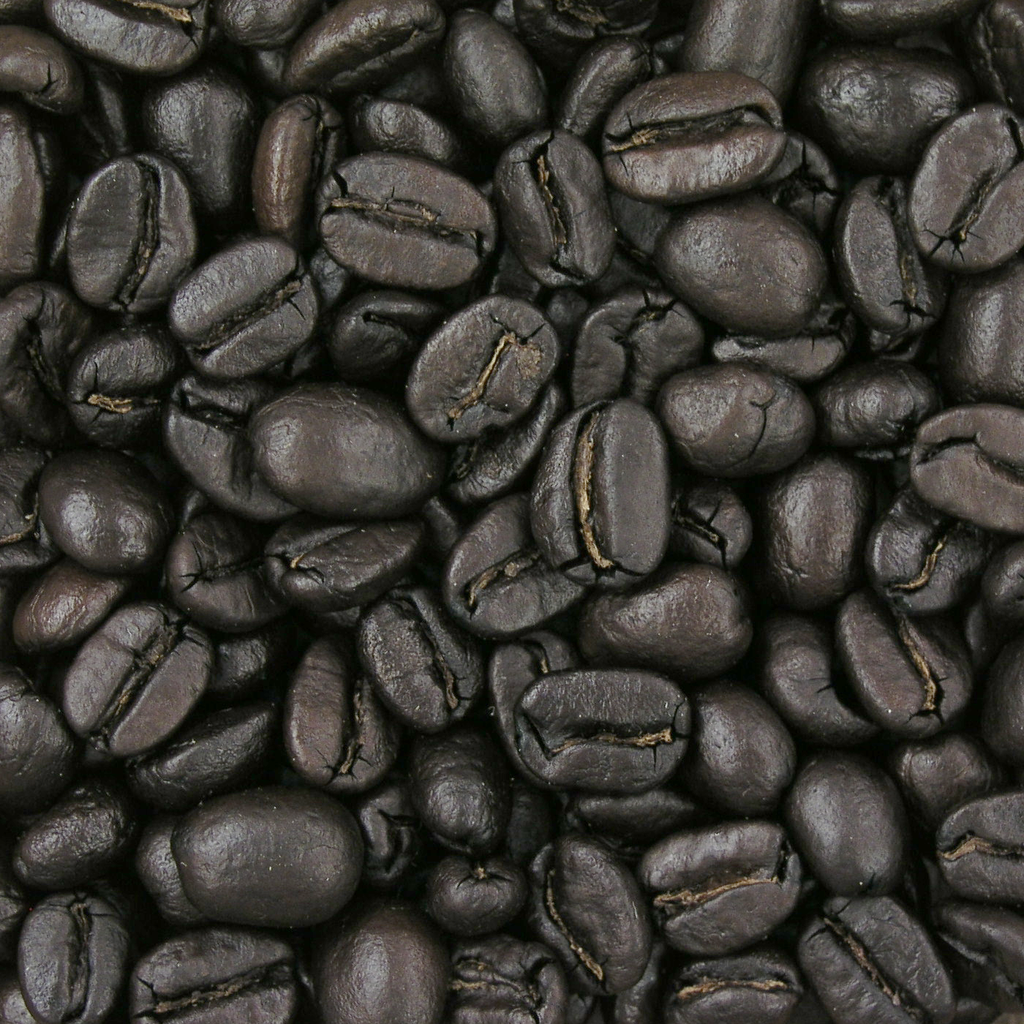
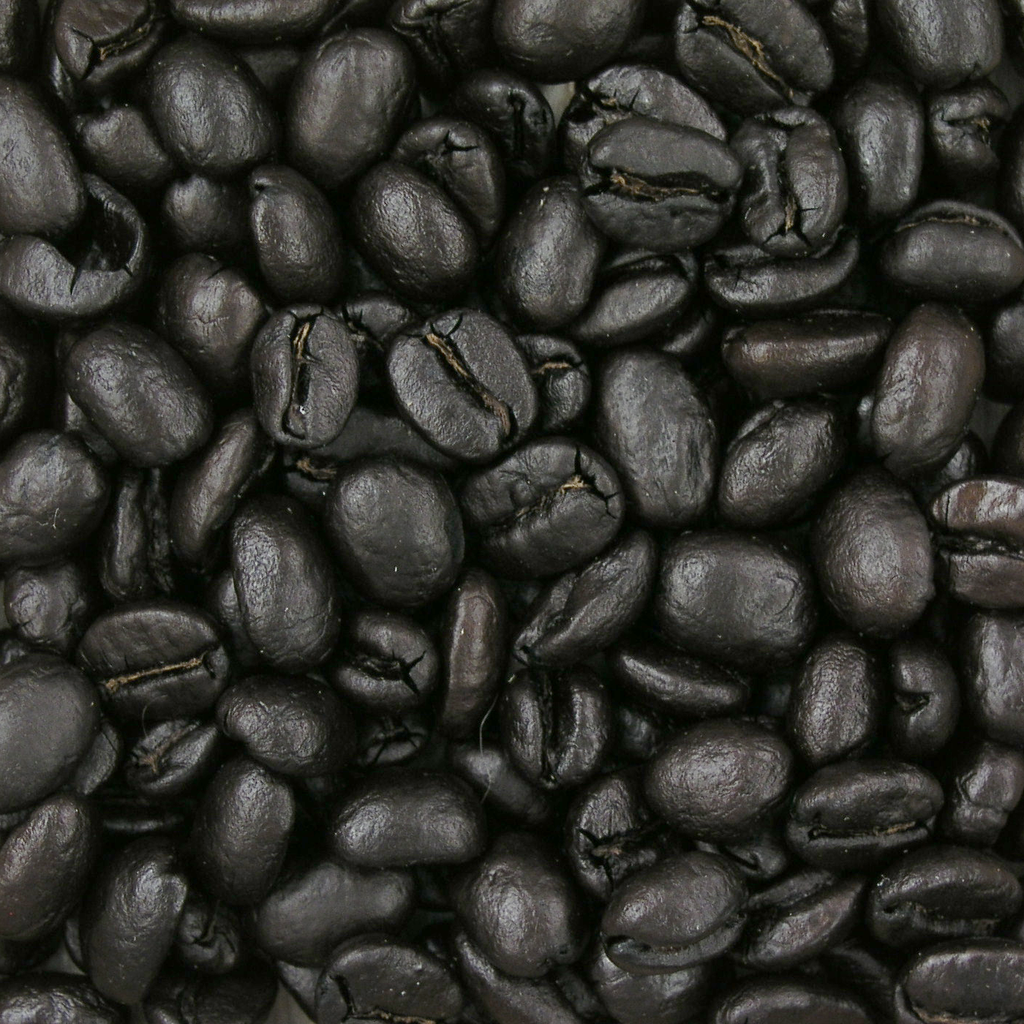

With beans ranging from dark brown to almost black, dark roast coffees have the boldest, smokiest flavor with chocolatey notes.
Full bodied with little if any acidity, and a definite bittersweet taste. The roast character of the coffee bean prevails over its origin character.
Either of medium-dark or dark roasts are ideal for rustling up an espresso. In fact, they tend to be most folks’ fave coffee roast!
More than any other phase of the roasting process, judging when to fish out your beans after second crack is critical. Get it wrong and, at best, you’ll have nothing but charcoal and a smog-filled room for your efforts; at worst, a mini blaze on your hands.
In terms of total roasting time, that’s influenced by the roasting method, batch size, degree of roast, and whatnot. Normally, though, between 10 and 20 minutes.
By the end of the roast, the coffee beans will have lost approximately a fifth of their weight. Yet, ironically, more or less doubled in size.
Interestingly, the amount of caffeine barely changes during the roasting process. If anything, it dwindles a fraction the longer the beans are roasted.
5. Cooling & Degassing Your Beans
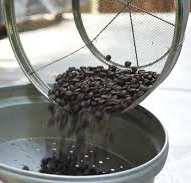
When the beans hit some 347°F, they actually start to produce their own heat. So the moment you pluck them out of the roaster, they need to be cooled fast to stop them from carrying on roasting. They’ll be crazy hot so be super careful not to burn yourself.
Jiggle the roasted beans around in a metal colander/sieve, then repeat in a second metal colander/sieve. Doing it in front of a running fan or outside on a windy day has the added benefit of blowing away any left-over silver skin clinging to the beans.
With the beans chilled to room temperature, there’s just one final -but vital- step before they’re fit for grinding: let them breathe - - they need time to let out what’s left of the carbon dioxide and reach their fullest flavor.
Exactly how long the beans need to rest depends mostly on how they were roasted, where they were grown, how they were processed, and how they’ll be brewed.
As a rough guide: For immersion or drip coffee, that means holding out for another couple of days.
For filter coffee, 3 or 4 days. For espresso, 5 to 7 days.
Some coffee beans, would you believe, don’t peak in flavor until the second or third week after the roast date.
As soon as the roast beans have degassed, they’ll start to go stale. In sharp contrast to green beans which can keep for up to three years. As a rule, roasted whole beans will stay fresh only for 7, sometimes as many as 10, days.
Preferably store them in a sealed, foil-lined bag somewhere cool and away from direct sunlight. Failing that, an airtight container in a cool, dark place such as a pantry. But not, contrary to popular habits, in the fridge as the beans will happily soak up all the odors around them!
Ground beans have an infinitely shorter shelf life. To keep their flavor, they should be brewed up within a quarter of an hour.
HOW TO LEVEL UP YOUR HOME ROASTING
Once you’ve got more of a thirst for coffee roasting, how to get better at it?
-
PRACTICE, PRACTICE, PRACTICE - - Don’t get disheartened if your first few batches don’t turn out quite how you expected. It takes time to master coffee roasting, and even ninja roasters had to start somewhere.
-
KEEP A ROASTING JOURNAL - - Document your roasting experiences, noting down each roast parameter; from temperatures and timings to the quantity and type of beans. Before long, you’ll begin to see patterns, and more accurately figure how your next roast will pan out.
-
EXPERIMENT LIKE A BOSS - - Play around with the different roast parameters, changing one at a time to see how it shapes the coffee’s characteristics. Give recipe-ing your own blends a shot. Dabble with treating the beans before, during, and after roasting - - in Vietnam, beans are coated in clarified butter; and across Latin America, extra sugar added to glaze the beans (dubbed Torrefacto).
-
UPGRADE YOUR EQUIPMENT - - If you got going with a popcorn maker, try your hand with an air roaster. When you’re roasting talents reach the next level, reckon on investing in a drum roaster.
THE FINISH
Nothing beats a freshly roasted brew of coffee. And you stand the best chance of that by roasting your own beans.
Although what happens to coffee beans during roasting is positively rocket science, it’s incredibly straightforward to home roast.
Then once you've got the hang of it, the sky's the limit!


Susan Akmentin
September 04, 2025
Thank you for this great article!