


Quick answer: Start with green coffee beans (1.2 lb of greens yields about 1 lb roasted), apply heat until you hear first crack at roughly 385°F (196°C), pull at your target roast level, cool immediately in a metal colander, and rest 2 to 7 days before brewing. Total active time is 10 to 20 minutes per batch.

That grey-green seed in the bag right now smells like fresh hay and tastes like nothing you'd want in your cup. Roasting is what changes it — chemically, structurally, aromatically. And the roast level matters more to your final cup than the brew method does. Pull those beans 30 seconds too late and a bright, nuanced pour-over turns into something that tastes like the bottom of an ashtray. The window really is that tight.
Why roast at home?
Freshness, mostly. By the time retail-roasted coffee travels from the roastery to the warehouse to the shelf to your kitchen, it's often several weeks off roast. Flavor peaks in the first 5 to 14 days. Roast your own and you control when the clock starts.
There's also real cost savings. Green beans are a raw commodity — you're not paying for someone else's roaster, staff, and packaging. And you get to decide the roast level. Want a Kenyan Nyeri pulled just past first crack to keep the citric brightness? Done. Want a Full City espresso blend pushed through second crack? That's yours to call, not the supermarket buyer's.
Most beginners produce a genuinely drinkable batch in their first or second session. People go from a nervous first roast to logging repeatable profiles in under a month. The learning curve is real, but it's shorter than it looks once you know what you're listening for.
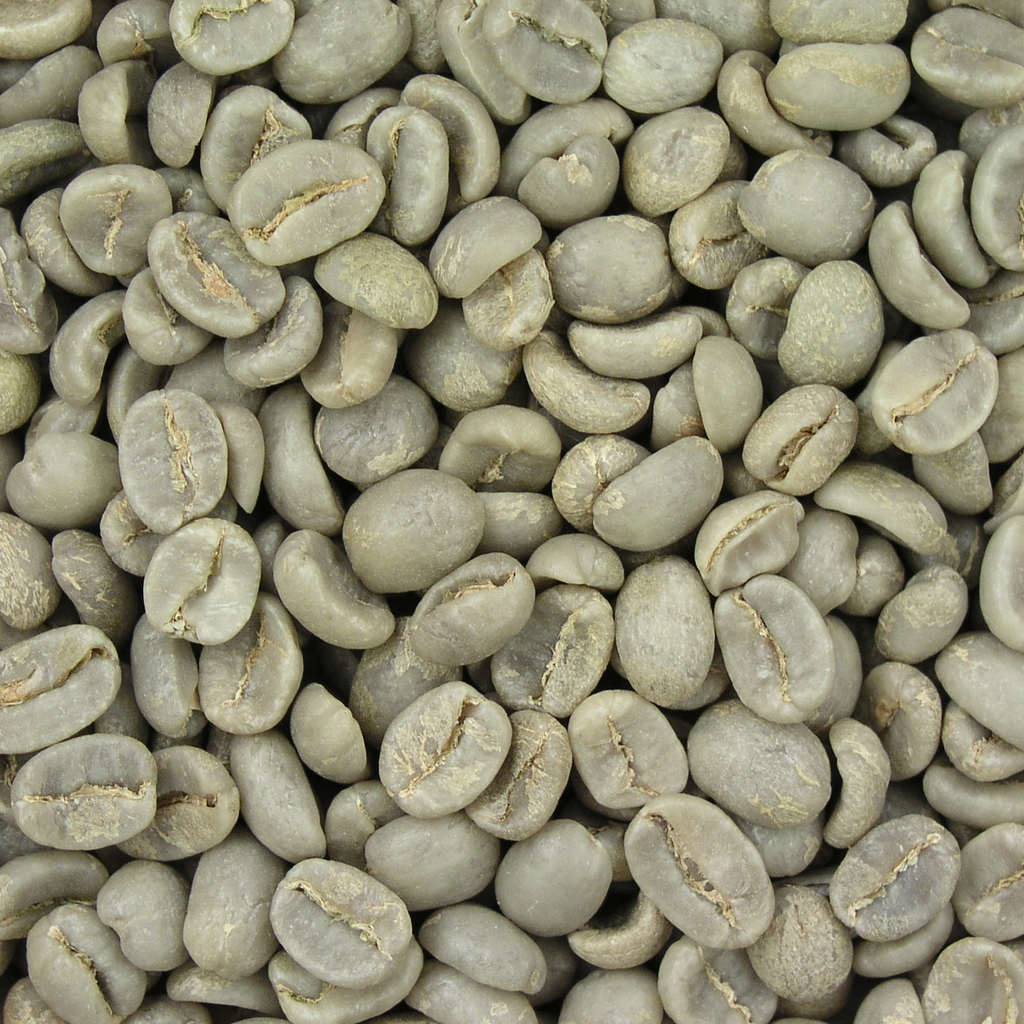
Step 1: Choose your green beans
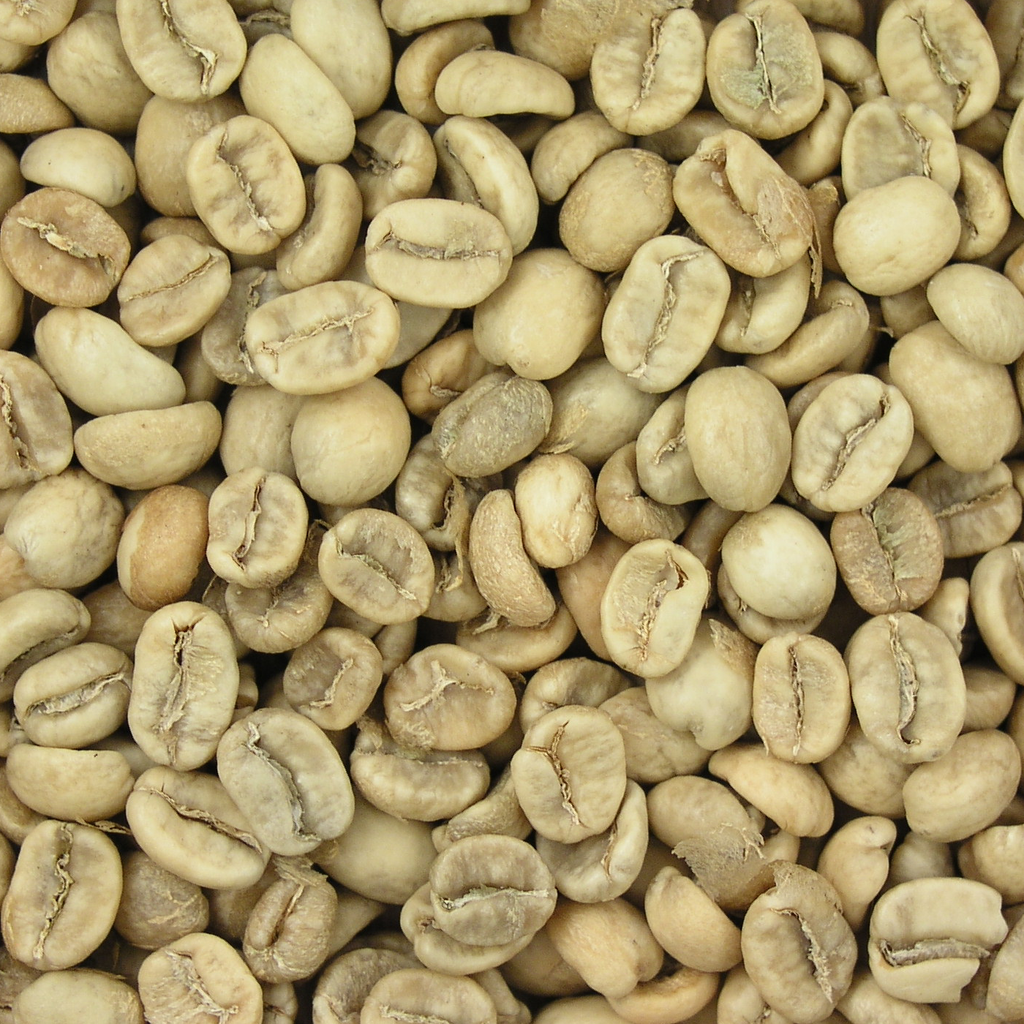
Green, unroasted beans are sold by origin, region, processing method, and sometimes down to the farm. The species you'll encounter most is Arabica — the foundation of most specialty coffee. Robusta has more caffeine and a harsher, more astringent character; it shows up mainly in espresso blends where extra body and crema are the priority.
If you're starting out, buy a sampler with three or four origins before committing to a large bag of one thing. Reading that a washed Ethiopian is "floral and tea-like" is one thing. Tasting it next to a natural Brazilian — nutty, chocolatey, full-bodied at medium-dark — is something else entirely. A few small batches across origins tells you more about what you actually want than any amount of reading.
One number to hold onto: 1.2 to 1.3 lb of green beans yields roughly 1 lb roasted, because moisture and CO2 leave the bean during the roast. Plan your batch weights accordingly.
For a deeper look at picking greens by origin and processing method, the bean selection guide at CoffeeRoast Co. covers the main variables. Until you're ready to roast, keep greens somewhere cool, dry, and dark. They hold quality for up to a year, and some origins keep even longer.
Step 2: Pick a roasting method
The right method comes down to two things: how much you want to spend upfront, and how much hands-on attention you'll give each batch.
Stovetop pan or skillet
This is how coffee has been roasted for centuries, and it still works. Spread green beans in a dry cast-iron skillet or wok over medium-high heat, stir constantly, and pull when you hit your target roast level.
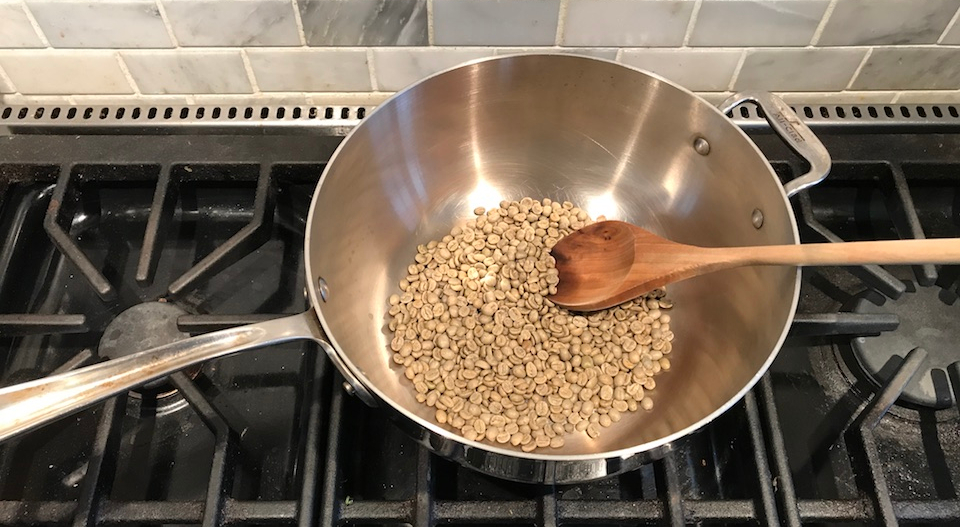
The upside is zero equipment cost. The real downside: without a drum to tumble the beans, even heat distribution is hard. You'll routinely end up with some beans light and some dark in the same batch. Use the skillet for one purpose — learning what first crack sounds and smells like before you invest in anything else. For consistent cup quality week to week, you'll need something better.
Oven roasting
Spread beans in a single layer on a perforated baking tray and run a convection oven at 450°F (232°C). Without agitation, beans roast at different rates and the cup has more variation than you'd get from a drum or air roaster.
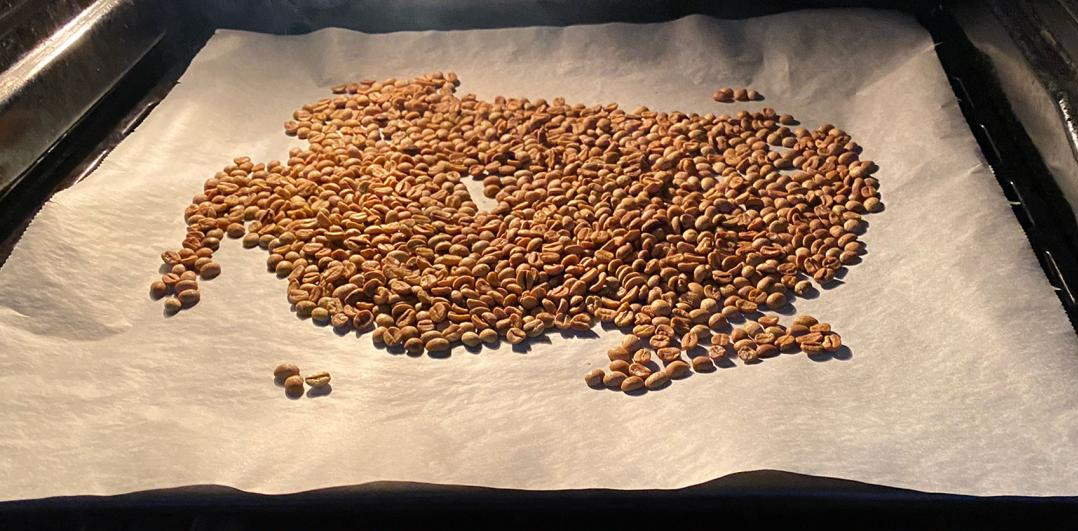
Some people like the character that uneven roasting produces, and it's more hands-off than the skillet. The catch is smoke: convection ovens don't vent well, and your kitchen will smell like a roastery for a couple of hours. Run the range hood at full and crack a window before you start, not after.
Popcorn popper
A side-vented hot-air popcorn popper is the cheapest purpose-adjacent tool that actually works for coffee. The West Bend Poppery II is the classic reference — discontinued but easy to find used for under $20. It roasts 70 to 100 g of green beans in about 8 minutes.
These machines weren't designed for coffee, and the motors run hot when used this way. Burnout after 20 to 50 batches is common. One safety note: avoid any popper with a mesh bottom screen. Beans and chaff can fall through and create a fire hazard. You want a steel-bowl popper with side vents. At $15 to $20, it's a low-stakes entry point — just don't expect it to last.
Purpose-built air roaster
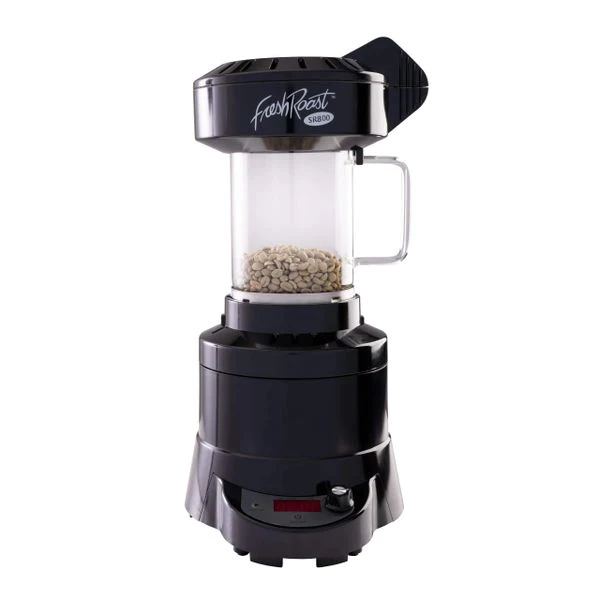
If you're starting from scratch and want one machine that won't punish beginner mistakes, the Fresh Roast SR800 is the most sensible first buy. It holds 226 g of washed beans per batch (drop to 170 g for naturals to avoid chaff clogging the vent), has separate fan and heat controls, displays real-time temperature, and finishes a batch in 8 to 10 minutes. Parts are cheap, the troubleshooting community is large, and the controls teach you what each input does without burying anything in an app.
Hot air simultaneously heats and agitates the bean mass, giving you an even roast without manual stirring. Browse the full range of air roasters if you want to compare batch sizes and price points across the category.
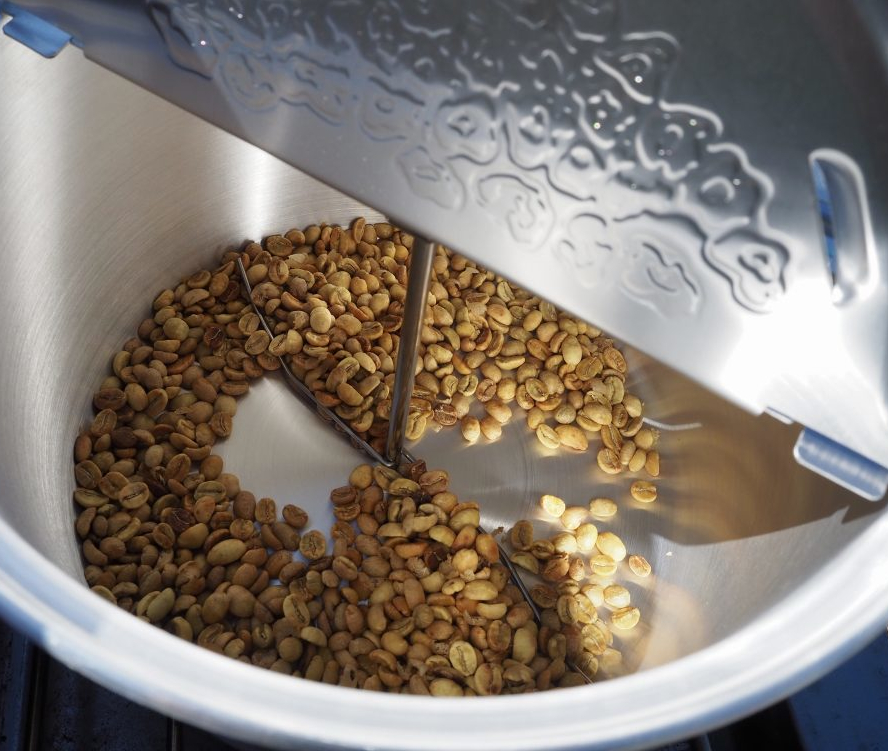
Drum roaster
A drum roaster tumbles beans over a heat source in a rotating metal chamber. The slower, conduction-heavy heat builds more Maillard complexity and body than air roasting — which is why drum machines are often the preference for espresso-focused roasts and natural-processed beans where you want a fuller, layered character in the cup.
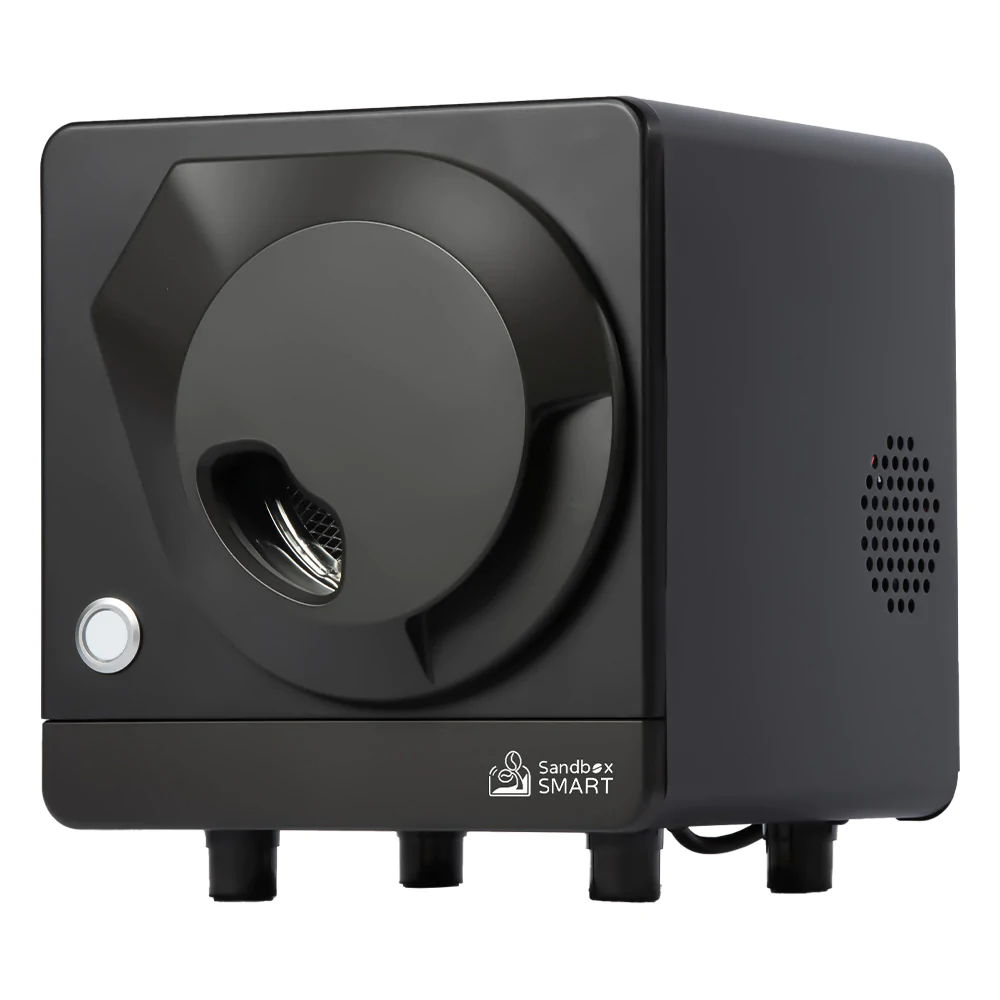
The Sandbox Smart R1 is the most accessible app-controlled drum machine in the home segment. It handles 100 to 150 g batches, uses quartz infrared heating, and logs roast curves over Bluetooth. It's heavier, slower, and more expensive than an air roaster — that's a real cost. But if you're pulling daily espresso from naturals or honey-processed beans and want to track a proper rate-of-rise curve, it earns its place. The full drum roaster lineup is worth comparing when you're weighing options.
Step 3: Know the roast stages
You don't need to memorize organic chemistry. You need to know what you're listening for, smelling for, and roughly where you are in the process — because once you're past first crack, the window between done and ruined is narrow.
The introduction to coffee roasting covers the chemistry in depth if you want that background. Here's the practical version.
Drying and yellowing (0 to ~5 min)
The bean shifts from green to yellow as residual moisture works out. You'll smell fresh hay or warm toast. Nothing dramatic is happening visually, but this stage loads the bean's cell structure for everything that follows. Don't rush it by cranking the heat — a hurried drying phase tends to produce uneven results later.
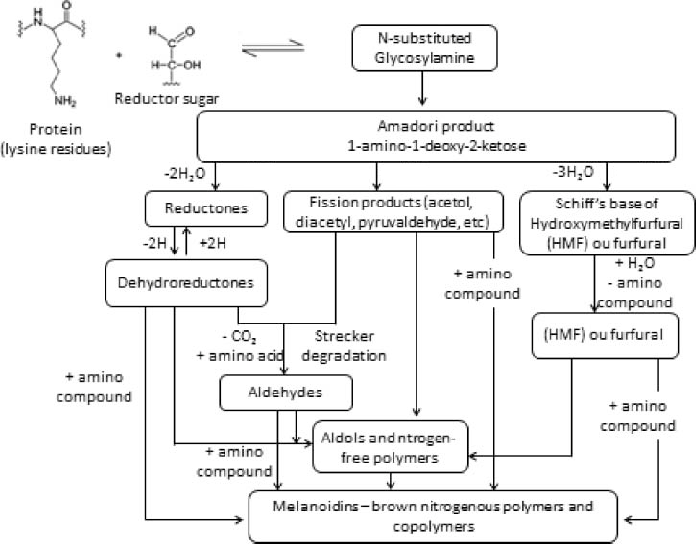
Maillard browning (~5 to 8 min)
Sugars and amino acids start reacting, producing hundreds of flavor compounds including caffeol, which is responsible for most of what we recognize as coffee aroma. The bean darkens to light brown and chaff begins flaking off. Slowing or extending this Maillard window changes the cup substantially, which is why experienced roasters watch their rate of rise closely here.
First crack (~385°F / 196°C)
You'll hear it before you see it: a series of sharp, popcorn-like pops as expanding CO2 and steam rupture the bean's cell walls. First crack is the moment the bean is technically roasted. Pull right at or just after this point for a light roast. Keep going for medium.
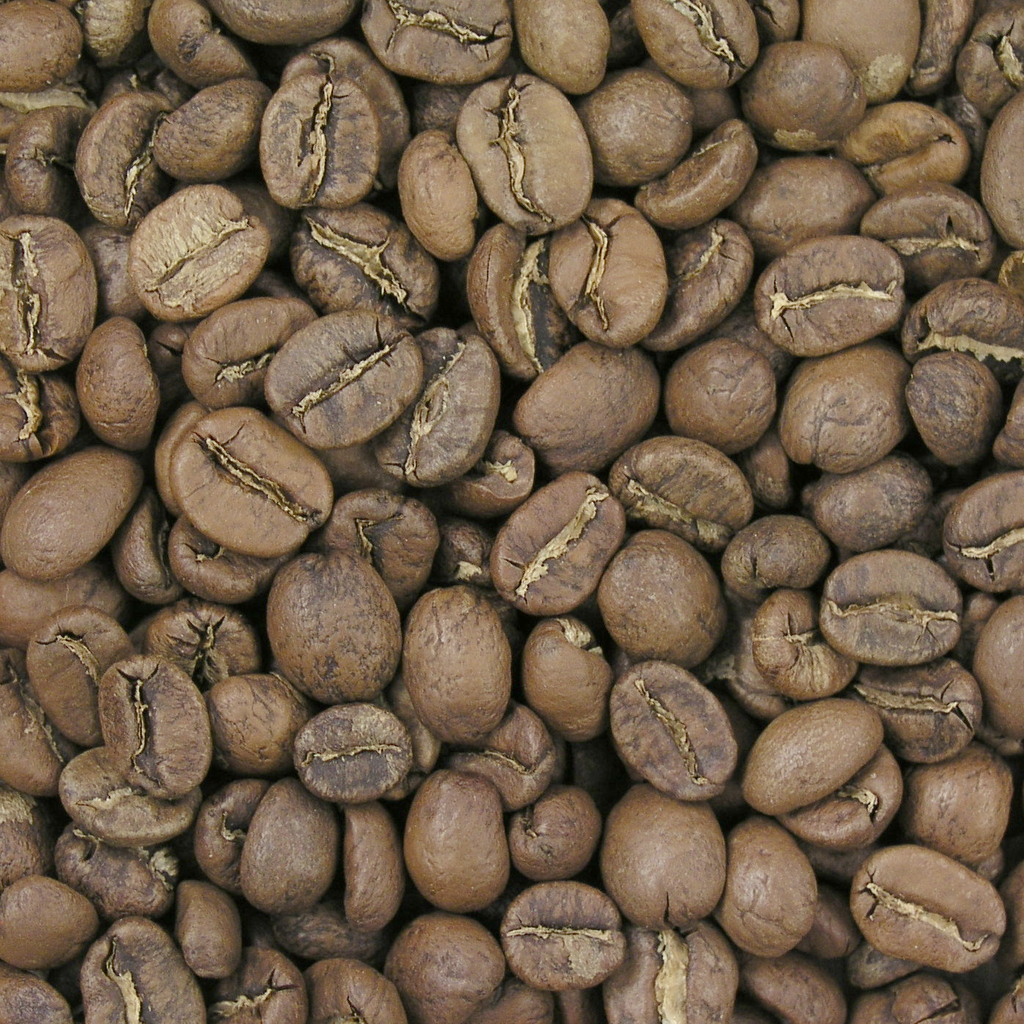
Light roasts — Cinnamon, New England — preserve the most origin character: floral notes, fruity acidity, brightness. If you've paid for a traceable single-origin Ethiopian or Kenyan, this is the roast level where those flavors actually show up.
Development stage (410°F to 430°F / 210°C to 221°C)
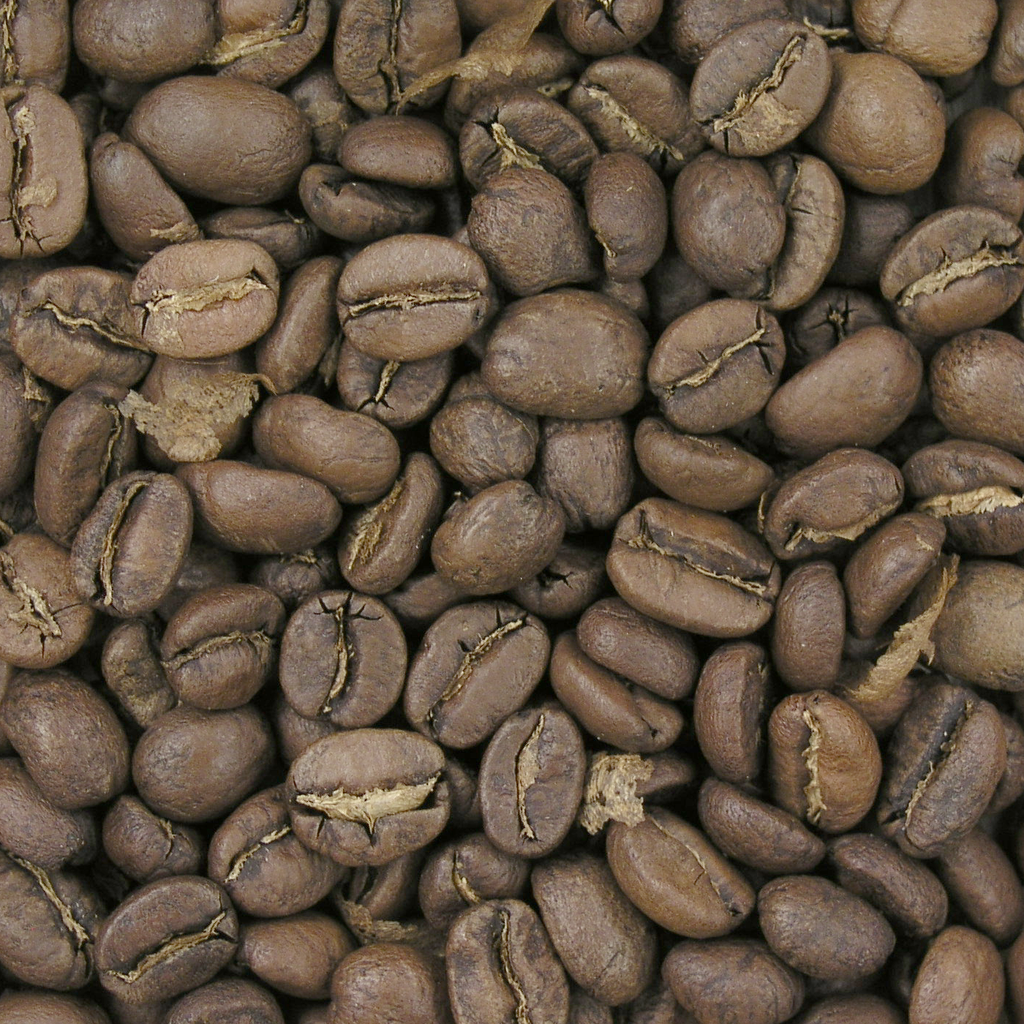
This is the stretch between first crack finishing and second crack starting. Pull here for medium roasts: City, American, Breakfast. Origin character is still present but roast flavors are building alongside it. This is where most beginners land — it's forgiving and broadly crowd-pleasing.
Second crack (~435°F to 450°F / 224°C to 232°C)
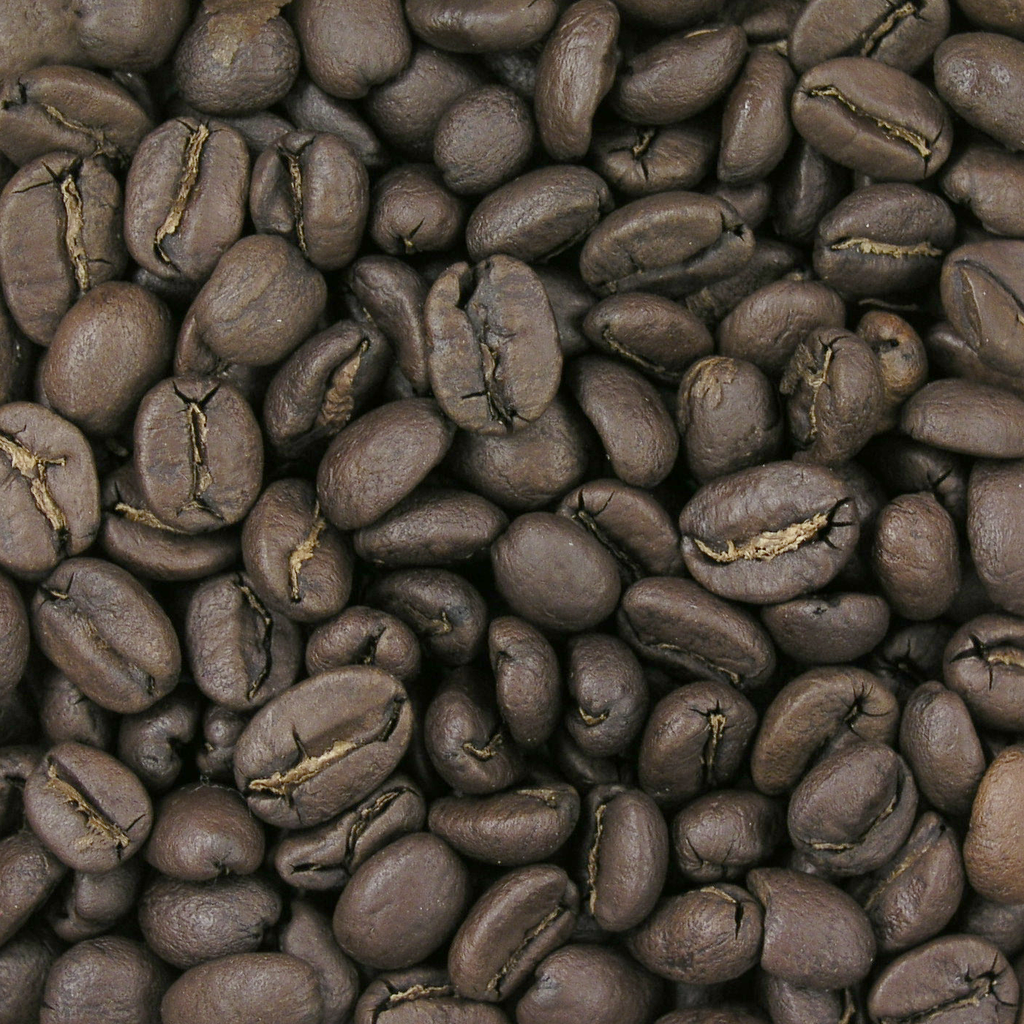
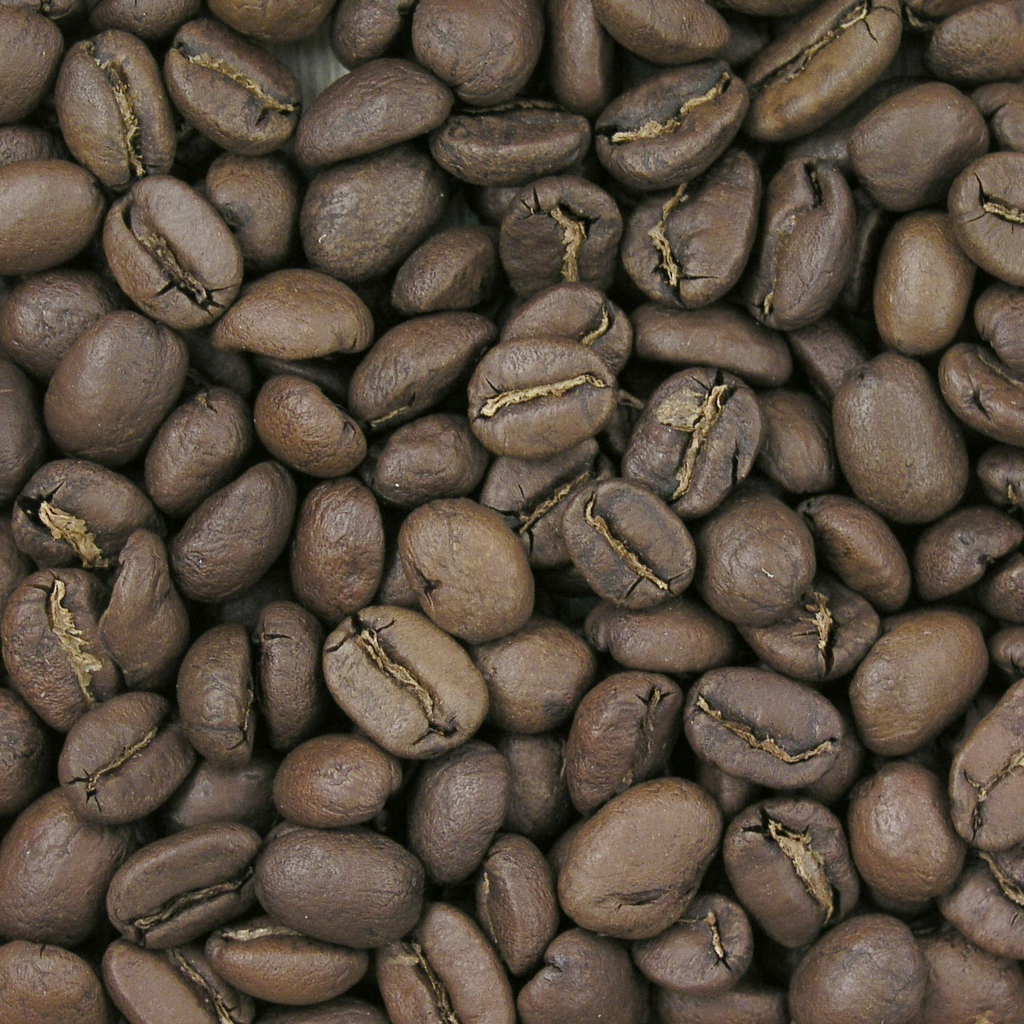
A softer, faster set of cracks as CO2 ruptures the outer bean structure. Pull at or just after second crack for medium-dark: Full City or Vienna. Oils are at or near the surface, the cup is fuller-bodied and less acidic, and roast flavors dominate origin.
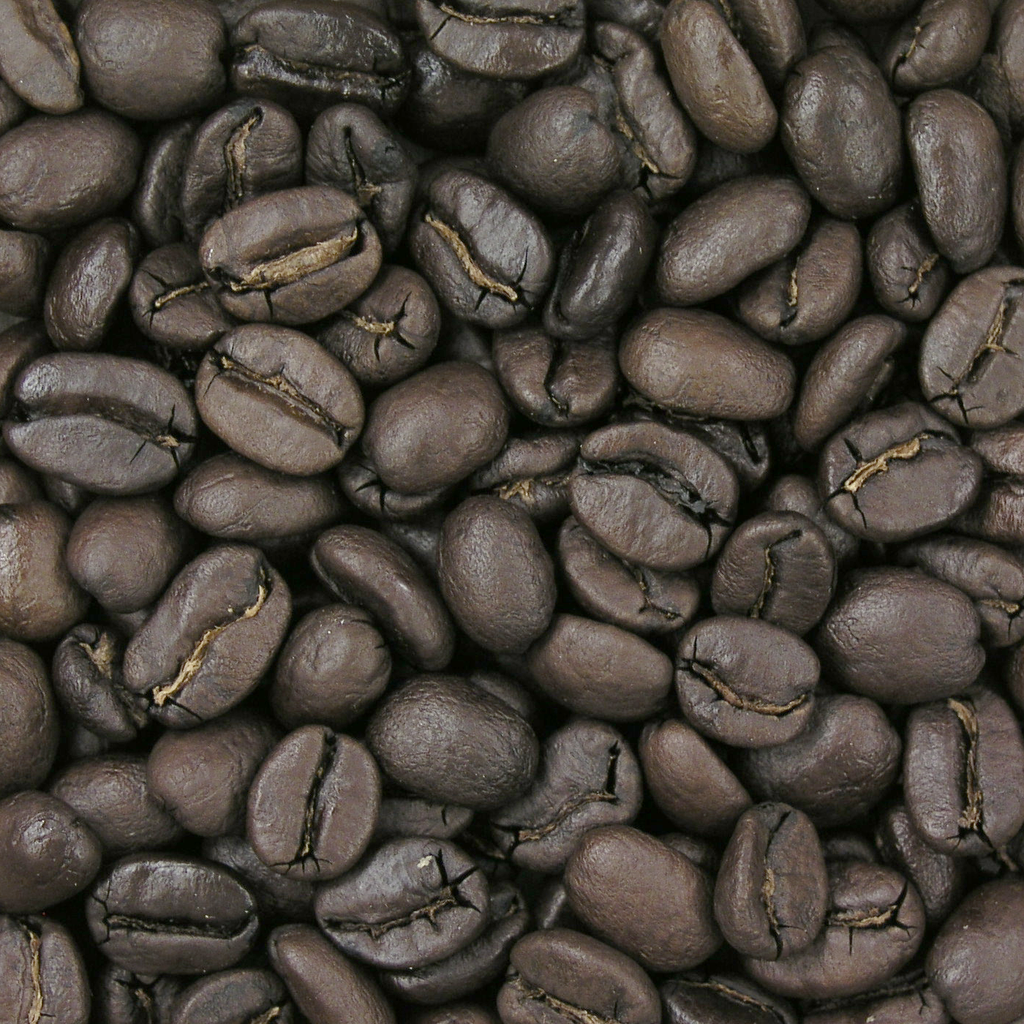
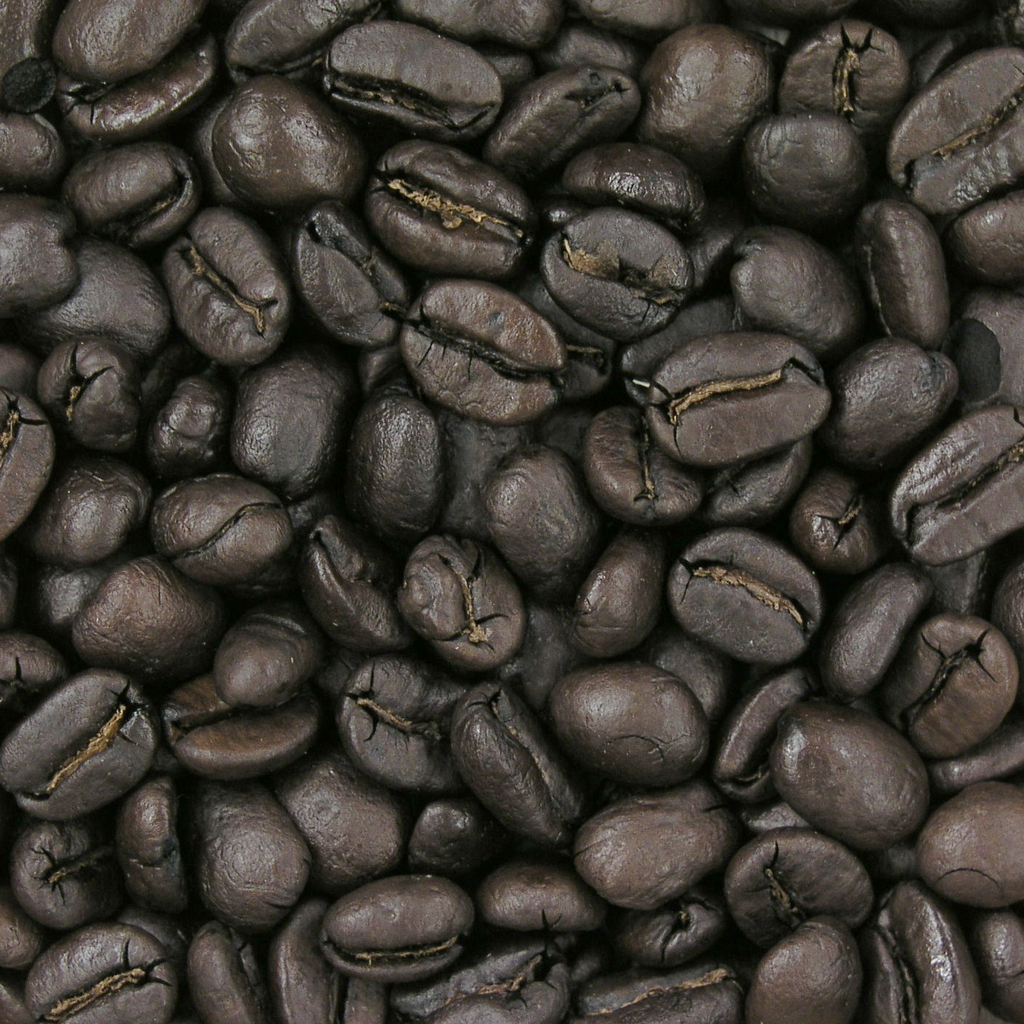
Hold 30 to 60 seconds past second crack and you're in dark roast territory: French or Italian. The bean surface is oily, the color runs deep brown to near-black, and roast character has taken over entirely.
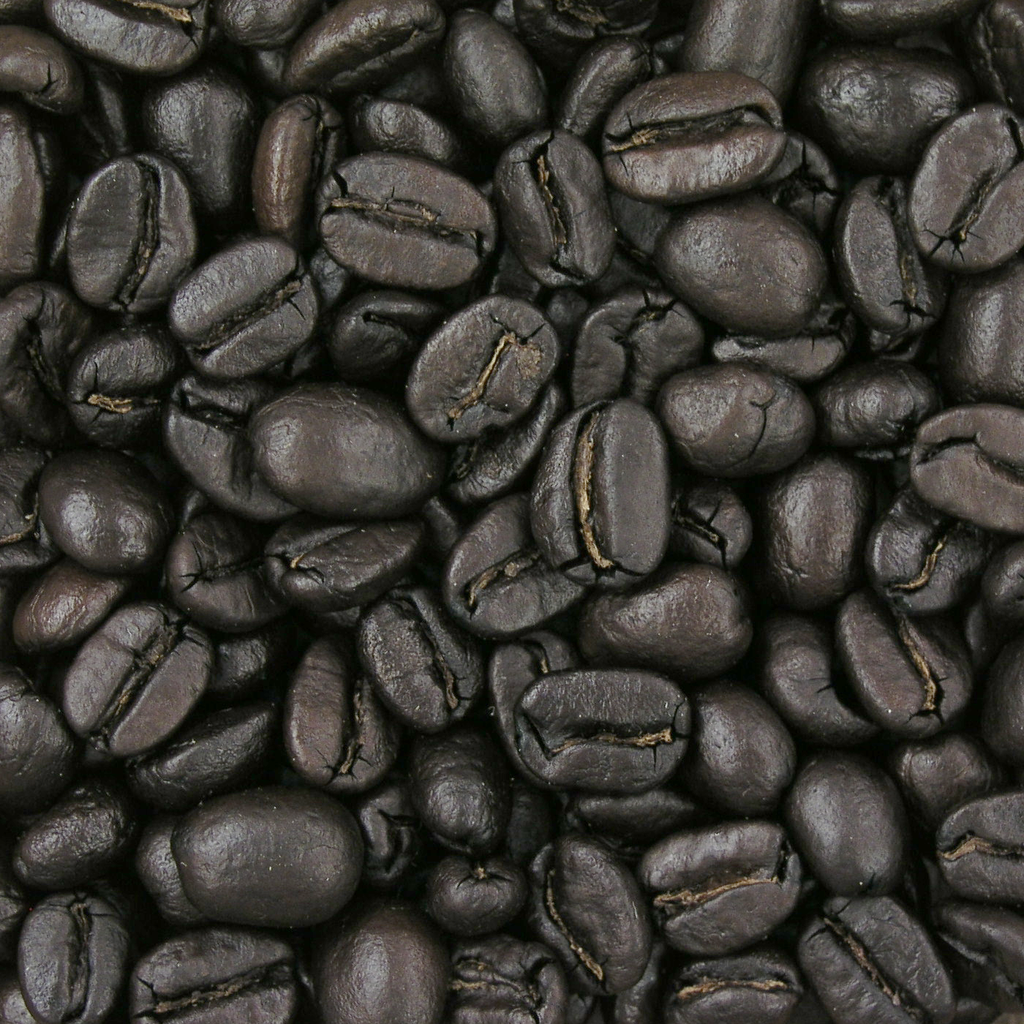
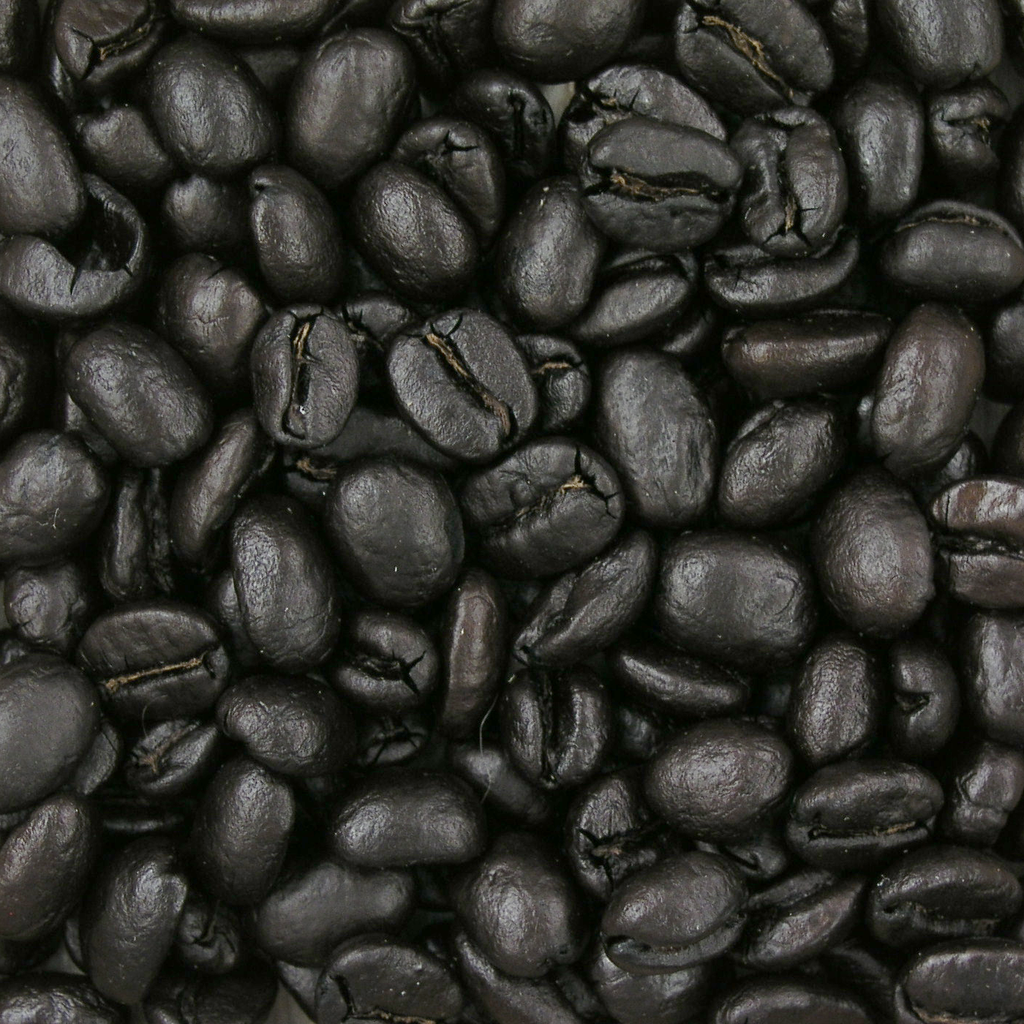
Medium-dark and dark roasts are the standard for espresso. Reduced acidity and fuller body are exactly what the brew method calls for. For a full breakdown of every roast level and what it tastes like, that guide covers the whole spectrum.
Total roast time runs 10 to 20 minutes depending on method, batch size, and target darkness. By the end, beans will have lost roughly 15 to 20% of their original weight but gained roughly double the volume. Worth knowing: caffeine content changes very little across roast levels. The difference between a light and dark roast cup is negligible.
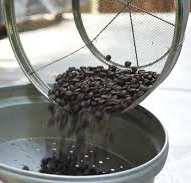
Step 4: Cool and degas
The second you pull the beans, they're still cooking on residual heat. You need to drop the temperature fast — aim for room temperature within 3 to 5 minutes.
Dump hot beans into a metal colander and stir or toss them aggressively. If you have a fan nearby, transfer them between two colanders in front of it. Don't let them sit in a pile — they'll keep developing on their own from stored heat for 60 to 90 seconds after the drop.
Once they're cool, don't grind them yet. Beans are still releasing CO2 produced during roasting, and brewing too early gives you a gassy, underdeveloped cup. How long to wait:
- Drip, immersion, pour-over: 2 days minimum, ideally 4 to 5
- Espresso: 5 to 7 days minimum; some beans need 10 to 14
- Natural and honey-processed beans typically need a few days more than washed
Store in a sealed, opaque container with a one-way CO2 valve at room temperature. Skip the fridge — roasted beans absorb ambient odors and you'll taste them. Whole beans hold peak flavor for 7 to 14 days and acceptable quality up to about 30. Your greens, by contrast, are far more shelf-stable: up to 12 months or longer in decent conditions.
Once you grind, brew within 15 to 30 minutes for best results.
How to get more consistent results
The gap between decent home roasting and genuinely great home roasting comes down to consistency. The tools that move the needle are almost free: a notebook and a kitchen scale.
Log every batch. Note the origin, processing method, batch weight, roaster used, heat and fan settings, time to first crack, pull time, and how the cup tasted 4 days later. After 10 batches, patterns emerge that weren't visible before. You'll notice the same Ethiopian Yirgacheffe needs 30 seconds less time in July than in January — ambient temperature affects the roast curve more than most beginners expect. You'll catch that your drum roaster's bean-temp probe reads slightly low on the second batch of the day because the machine body is already warm from the first. None of that shows up until you've written it down.
Change one variable at a time. Heat setting, fan speed, batch size, pull time — adjust them separately, never together. Two changes at once and you can't tell which one shifted the cup.
If you started on a popcorn popper, a dedicated air roaster is the natural next step. The Fresh Roast SR540 handles smaller batches with the same control logic as the SR800. The full lineup at CoffeeRoast Co. is worth browsing when you're ready to step up. Once you're pulling consistent light-to-medium roasts and want to focus specifically on espresso profiles, a drum roaster becomes the logical move from there.
One last thing: in Vietnam, beans are sometimes coated in clarified butter before roasting, producing a distinct caramelized-fat flavor in the cup. In parts of Latin America, sugar is added mid-roast to glaze the beans in a technique called Torrefacto. Neither is wrong — they're just different approaches that produce specific results. Trying one after your baseline is dialed in is exactly the kind of tangent that keeps home roasting interesting long-term.
Frequently asked questions
What temperature is first crack in home coffee roasting?
First crack happens at roughly 385°F (196°C) at the bean surface. The exact temperature shifts depending on bean density, batch size, and roaster type. The number matters less than learning the sound: a rapid series of sharp pops, similar to popcorn. On a noisy air roaster, lean in. On a drum roaster, it's easier to hear clearly. Once you've heard it once, you'll recognize it every time.
How long does a home roast take?
Most home roasts run 10 to 20 minutes from green to done, depending on method, batch size, and target roast level. A popcorn popper pushing 80 g to a light roast might finish in 8 minutes. A drum roaster working 150 g toward medium-dark will take closer to 18 to 20. What matters more than total time is what's happening at each stage — rushing the drying phase produces a flat cup regardless of how the rest of the roast goes.
Can I roast coffee beans in a regular oven?
Yes. Spread beans in a single layer on a perforated baking tray, run a convection oven at 450°F (232°C), and expect more variation across the batch than an air or drum roaster would give you. The bigger practical issue is smoke: your kitchen will get hazy and the smell sticks around. Run the range hood at full and crack a window before you start.
How do I store green coffee beans?
Cool, dry, dark, and away from strong odors. A sealed container in a pantry works well. Green beans are far more shelf-stable than roasted coffee: up to 12 months in decent conditions, and some origins hold quality longer. No vacuum sealing or refrigeration needed — just keep them out of heat and humidity.
Why do I need to rest roasted coffee before brewing?
During roasting, beans produce significant CO2 that keeps releasing for days afterward. Brew too early and that gas interferes with extraction — you get a gassy, underdeveloped cup. For drip and pour-over, 2 days is the floor and 4 to 5 is better. For espresso, wait at least 5 to 7 days, and naturals often need 10 to 14. It feels fussy until you taste the difference.
What's the difference between an air roaster and a drum roaster?
An air roaster uses hot air to heat and tumble the beans simultaneously: fast, even, highlights clarity and brightness in the cup. A drum roaster tumbles beans over a heat source in a rotating chamber, building more body and Maillard complexity through slower, conduction-heavy heat. Air roasters are more affordable and easier to learn on. Drum roasters tend to suit espresso profiles and natural-processed beans where you want a fuller, more layered character.
Does roast level affect caffeine content?
Very little. Light and dark roasts from the same origin and same dose weight contain comparable caffeine. Dark roasts lose slightly more mass during roasting, so if you scoop by volume you'll use more beans and get slightly more caffeine — but the difference is minor and easy to offset by weighing your dose instead of scooping.
Key takeaways:
- 1.2 to 1.3 lb of green beans yields roughly 1 lb roasted; account for weight loss when planning batches.
- First crack at ~385°F (196°C) is your primary timing cue; the sound matters more than the temperature readout.
- Rest roasted beans before brewing: 2 to 5 days for drip and pour-over, 5 to 14 days for espresso.
- Log every roast variable; patterns only become visible after 8 to 10 batches.
- Start on an air roaster, move to a drum roaster once you're consistently hitting light-to-medium profiles and want to work on espresso.


Susan Akmentin
septiembre 04, 2025
Thank you for this great article!