


Quick answer: Set a flat-burr grinder to fine (table-salt texture, 200-400 micron particle range). Dose 18 g into the portafilter basket, pull for 36 g out in 27-32 seconds at 93 °C. Shot under 22 seconds and tastes sour? Grind finer by one click. Bitter and slow past 38 seconds? Go coarser. Change only grind size between shots.
Your shot ran fast and tasted sour. Or it choked the basket and came out bitter and harsh. Either way, the grind is almost certainly the problem — not the machine. Grind size, grind consistency, and the order you make adjustments account for the overwhelming majority of espresso problems at home. Get those three things right and the rest tends to follow.
Which beans actually work for espresso?
Before you touch the grinder, you need beans worth dialing in. Most espresso blends are a mix of Arabica and Robusta — Arabica for sweetness and complexity, Robusta for body and crema thickness. That's the traditional Italian approach, but plenty of specialty roasters pull great espresso from 100% Arabica single origins. A washed Ethiopian Yirgacheffe or a Kenyan AA can be outstanding through an espresso machine if your grind is on point.
Type of beans
Your choice among coffee bean varieties shapes the shot in predictable ways. Arabica-dominant espresso leans toward stone-fruit sweetness and softer acidity. Push the Robusta proportion higher and you get thicker crema and more bitterness — genuinely pleasant up to about 20%, rubbery past it. Most Italian-style blends settle around 80-85% Arabica for exactly that reason.
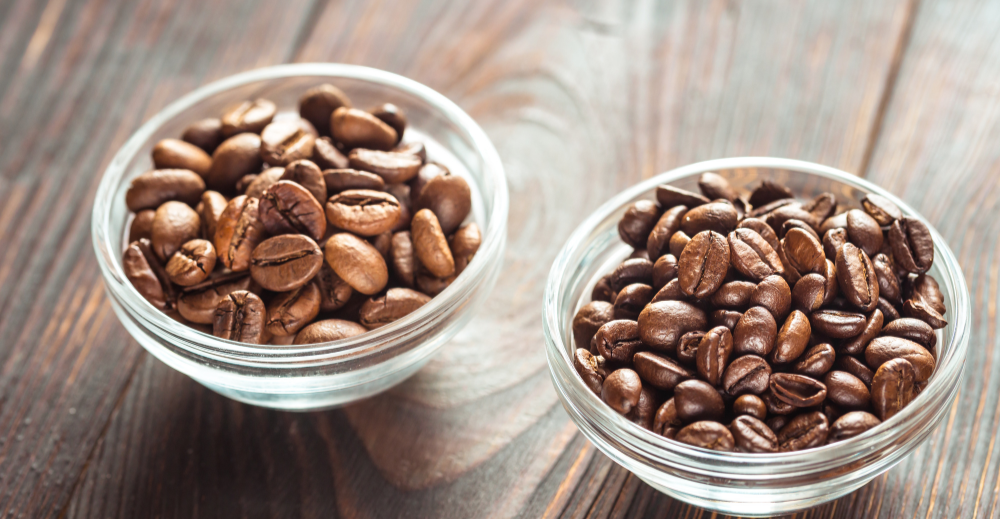
Roast level
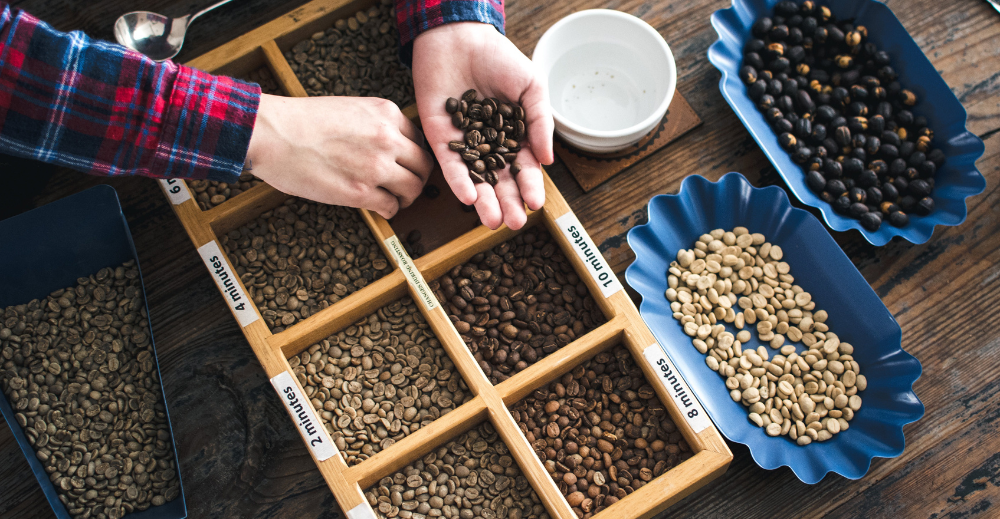
Dark roast (Full City+ through French, Agtron roughly 35-55) is the classic Italian espresso choice for a real reason. Extended pyrolysis makes the bean more porous, so it extracts readily at lower brew temperatures — 89-92 °C is typical. Medium roast (City+, Agtron 55-65) works well at 92-94 °C and rewards slightly longer extraction times. Light roast single-origins (City, Agtron 65+) are the trickiest: they need 94-96 °C and usually a pre-infusion step to avoid channeling under full 9-bar pressure.
Espresso is less forgiving of roast-level mismatch than almost any other brewing method. The pressure and fine grind amplify every variable. If you're just starting out, a medium roast blend is the easiest place to learn.
Freshness
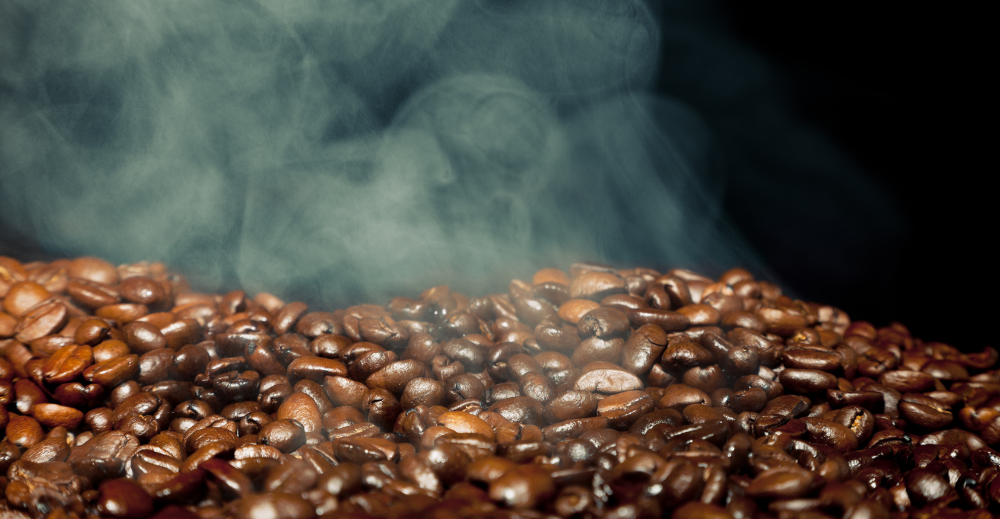
Beans can actually be too fresh. Pull them off the shelf under 4 days after roast and there's so much CO2 still outgassing that you'll get unstable, bubbly crema that tells you nothing useful about your grind setting. The sweet spot is 5-14 days post-roast, once that initial gas burst has settled. Past 6 weeks, the aromatic compounds have degraded enough that no amount of grind adjustment will save the cup. Always check the roast date on the bag, and buy quantities you'll finish within 3-4 weeks.
Origin

Origin matters more than most people expect, because different origins produce different bean densities — and density affects how the bean grinds. Ethiopian naturals and Yemeni beans tend to be denser than Brazilian Catuais, so they'll grind finer at the same dial position. Swap origins without adjusting and your shot time will shift, sometimes by several seconds. Latin American washed beans like Guatemala Huehuetenango or Colombian Huila are generally forgiving starting points. African beans — Kenya AA and Ethiopian Sidamo specifically — reward more precise temperature and grind control but deliver more complexity when you nail it.
Equipment: what you need and what you can skip
You don't need a $4,000 machine. You do need a decent grinder and a scale. Those two aren't optional. Everything else is graduated.
Espresso machine
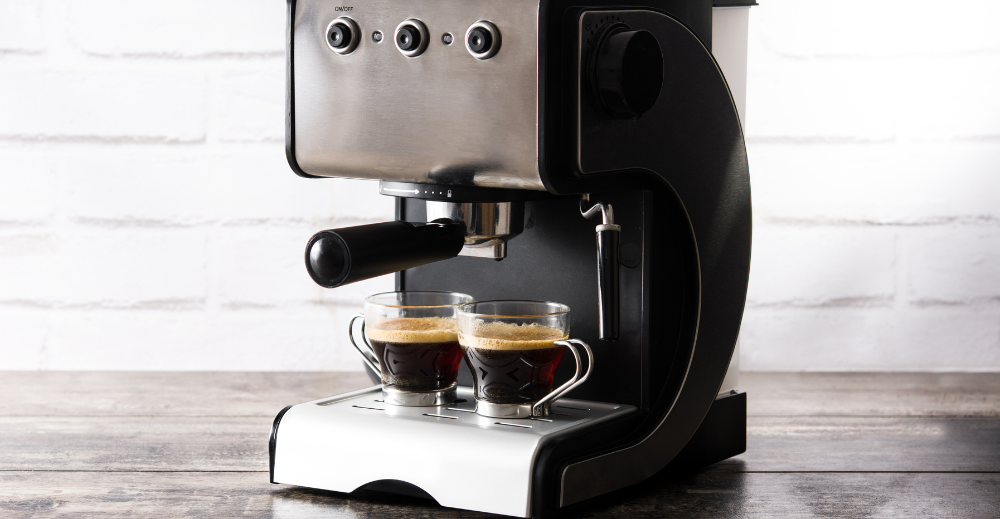
A home espresso machine needs to deliver a consistent 9 bar of pressure and hold a stable group-head temperature. A PID temperature controller is the practical floor for serious dialing-in. Without it, brew temperature drifts shot to shot, and you can't tell whether a flavor change came from your grind adjustment or a temperature swing. Steam wand only matters if you're making milk drinks.
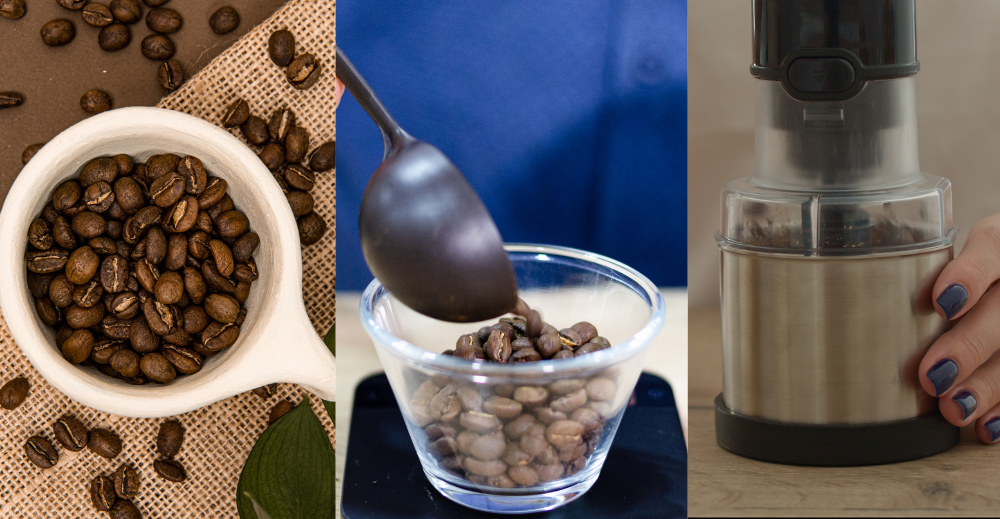
Coffee grinder
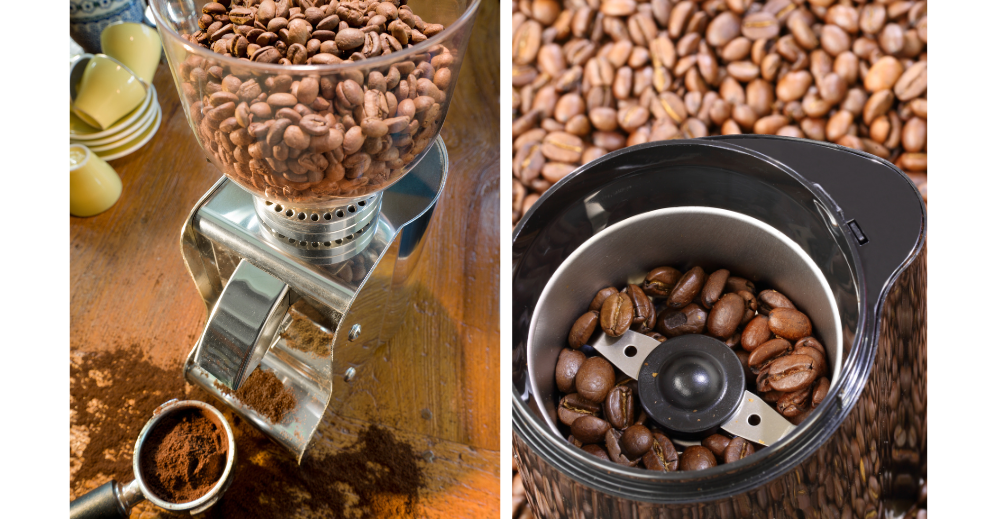
This is where you should spend your money. A burr grinder isn't optional for espresso. Blade grinders chop beans into random fragments, giving you a mix of powder and chunks that extracts in two directions simultaneously. No amount of tamping fixes that. Flat-burr grinders with 64 mm burrs — like the Eureka Mignon Specialita or the Baratza Vario+ — are the practical entry point for repeatable espresso at home. Conical burrs work too and tend to produce a slightly warmer, fuller mouthfeel, but flat burrs give you cleaner separation between acidity and sweetness when you're chasing clarity.
Coffee scale
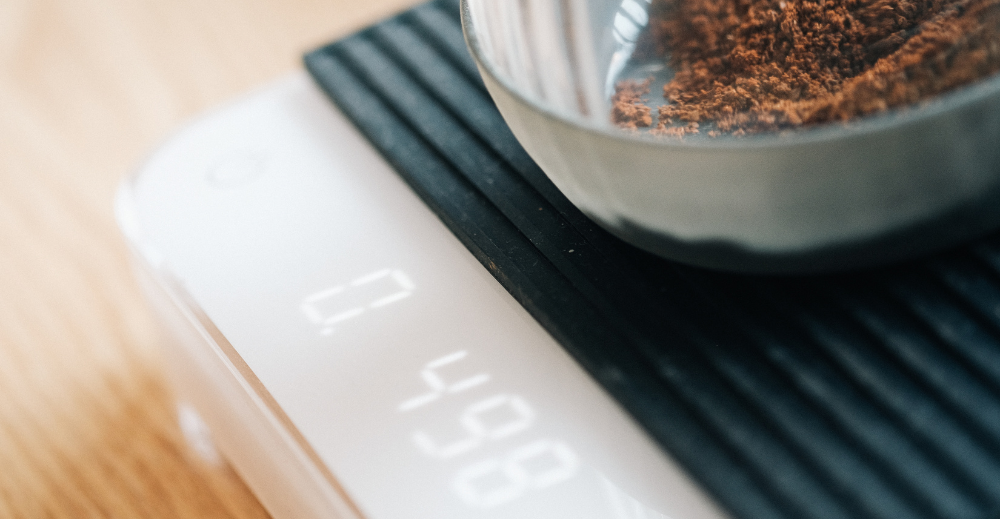
A precision scale readable to 0.1 g is mandatory. Eyeballing your dose introduces 1-2 g of variance per shot — a roughly 5% swing in extraction yield before you've even touched the grinder. Weigh both dose and yield, not just dose. Weighing only the input is like timing a race without a finish line.
Tamper
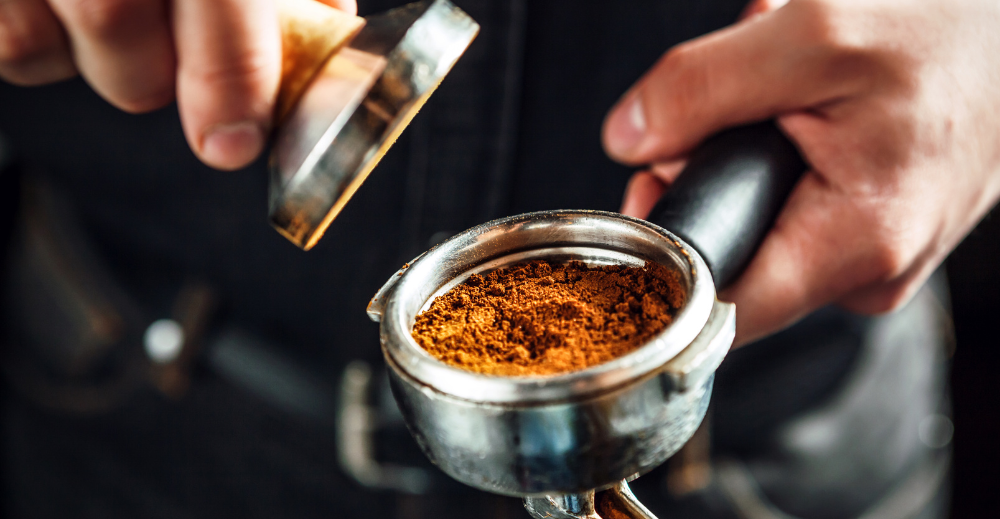
A flat-based tamper sized to your basket — 58 mm for most home machines — is all you need. The Socratic Coffee tamping-pressure study from 2015 found that consistency and level matter far more than how hard you press. Aim for 15-20 kg of downward pressure and keep it straight. A tilted tamp creates a slope in the puck and water finds the thin side every time.
Frothing pitcher
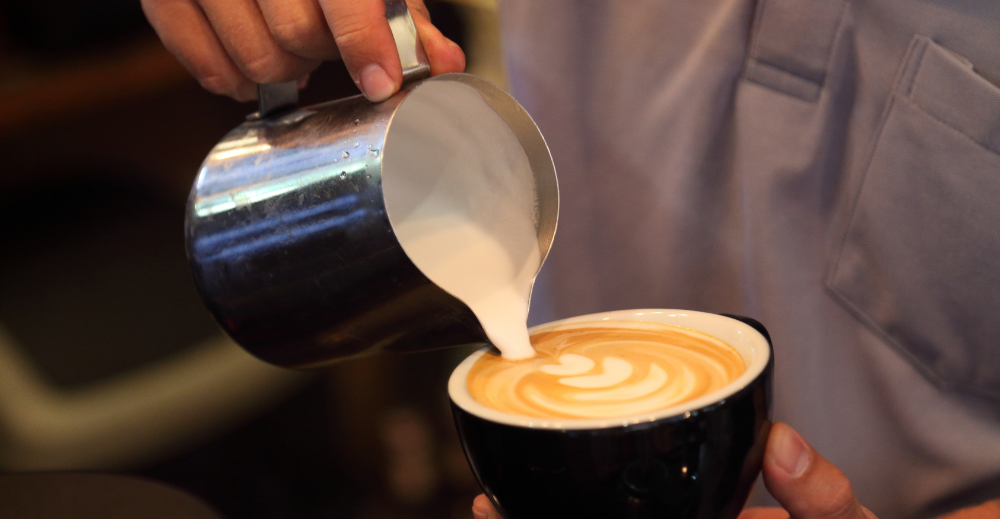
Only needed if you're making lattes or cappuccinos. A 12 oz pitcher handles single-drink steaming well; go to 20 oz if you're making two drinks at once. If you drink espresso straight or over ice, skip it.
Why grind size makes or breaks the shot
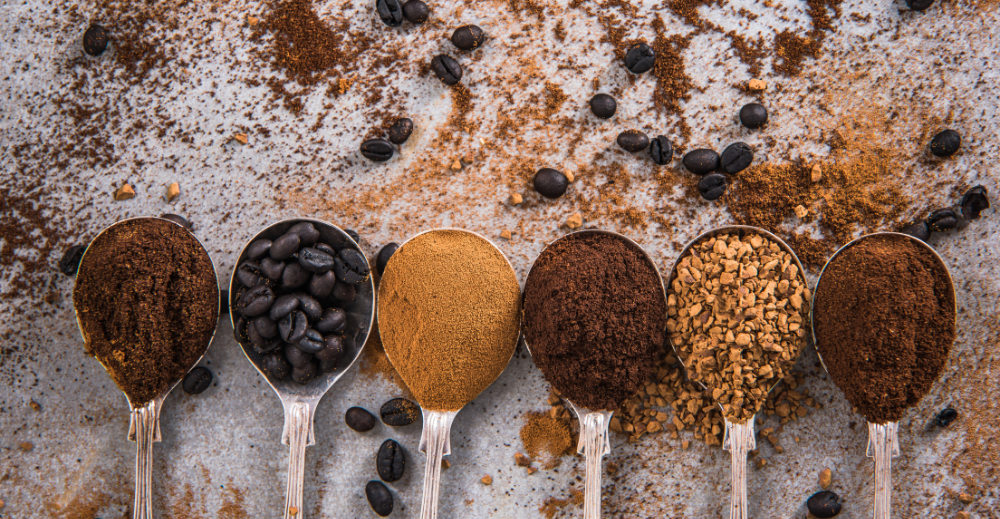
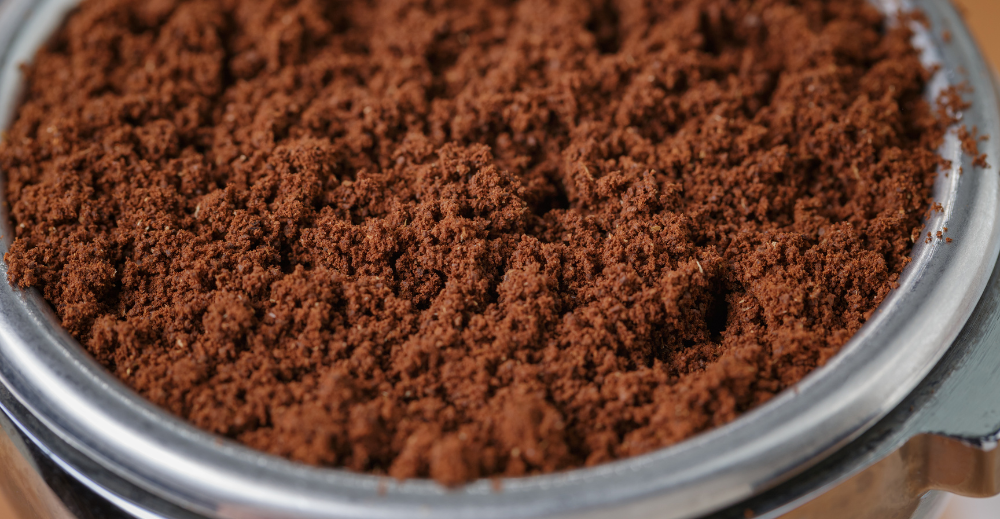
Espresso grind sits in the fine-to-medium-fine range: roughly 200-400 microns median particle size, which feels like slightly gritty table salt between your fingers — not flour. At that particle size, 9 bars of pressure meets real resistance across the puck and extracts evenly over 27-35 seconds.
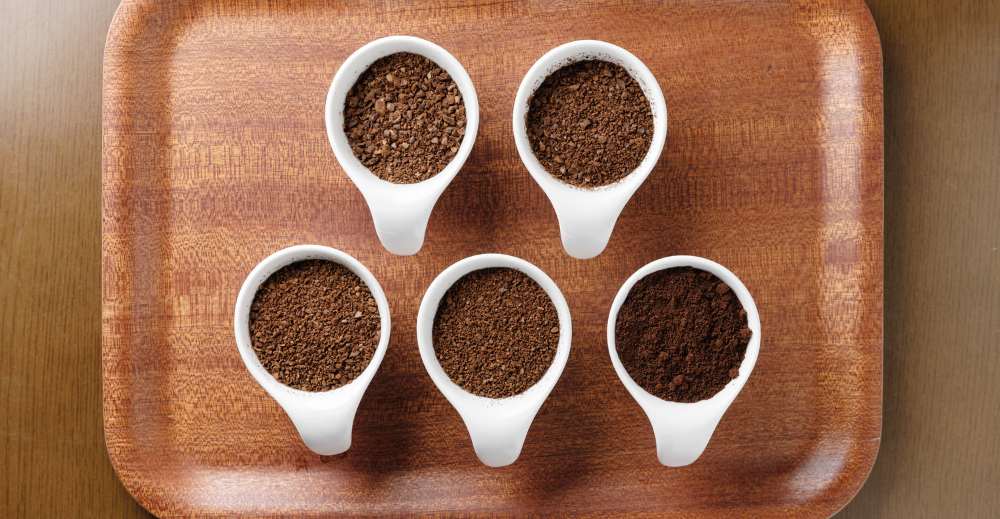
Grind too coarse and water races through in under 20 seconds, barely touching the bean surface. The shot comes out sour and thin. Classic under-extraction. Grind too fine and you've made a paste — the pump can barely push through it, the shot crawls past 45 seconds, and what lands in the cup tastes bitter and papery.
The right grind feel
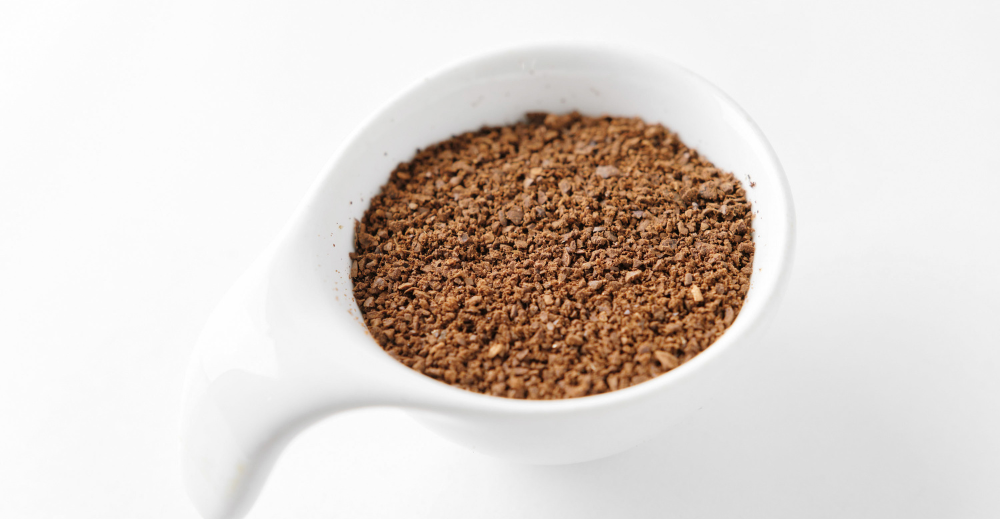
Pinch a small amount of ground coffee and rub it between your thumb and forefinger. Good espresso grind feels gritty but not sharp. You can sense individual particles, but they won't scratch. Powdery like flour means too fine. Coarse and chunky with visible bits means too coarse. It's not a scientific test, but it's a useful sanity check before you dose and tamp.
Grind consistency matters as much as grind size
A burr grinder produces a bimodal particle-size distribution: a peak of fines around 100-200 microns and a coarser peak around 400-500 microns. That specific mix creates the puck resistance needed to build pressure evenly across the shot. A blade grinder produces random fragments across a wide range, so different sections of the puck extract at completely different rates. The result is a shot that tastes sour and bitter in the same mouthful — genuinely confusing until you understand why.
Adjusting your grinder

One click at a time. Pull a full shot. Evaluate. One click on most grinders shifts shot time by 2-4 seconds, which is enough to hear what the change did. Move more than one click per iteration and you lose the thread. Keep a simple log: grind setting, dose, yield, time, taste note. After 10-15 shots on a new bag, you'll have a reliable reference point to return to.
How do you grind and pull a dialed-in espresso shot?
- Weigh your beans: 18 g for a double shot into an 18 g VST or IMS basket. Match your dose to the spec stamped on the basket rim. Overdose by 2 g in an 18 g basket and you've left barely a millimeter of headspace. The puck swells into the shower screen during pre-infusion and channels, regardless of how good your grind is.
- Set your burr grinder to fine. Starting fresh on a new bag? Begin at medium-fine and move finer in one-click increments. Most flat-burr grinders have 40-60 positions; espresso typically lives in the finer third of that range.
- Grind directly before brewing. Ground coffee starts oxidizing within minutes. Don't grind a batch ahead of time and expect it to hold.
- Distribute the grounds. Tap the portafilter gently on the counter, then use a WDT (Weiss Distribution Technique) tool to run thin needles through the grounds and break up any clumps. This step matters most with light roasts and natural-processed beans, which are denser and clump more aggressively.
- Tamp level. Press straight down with 15-20 kg of force. Even a slight tilt creates a slope in the puck and water will find the thin side every time.
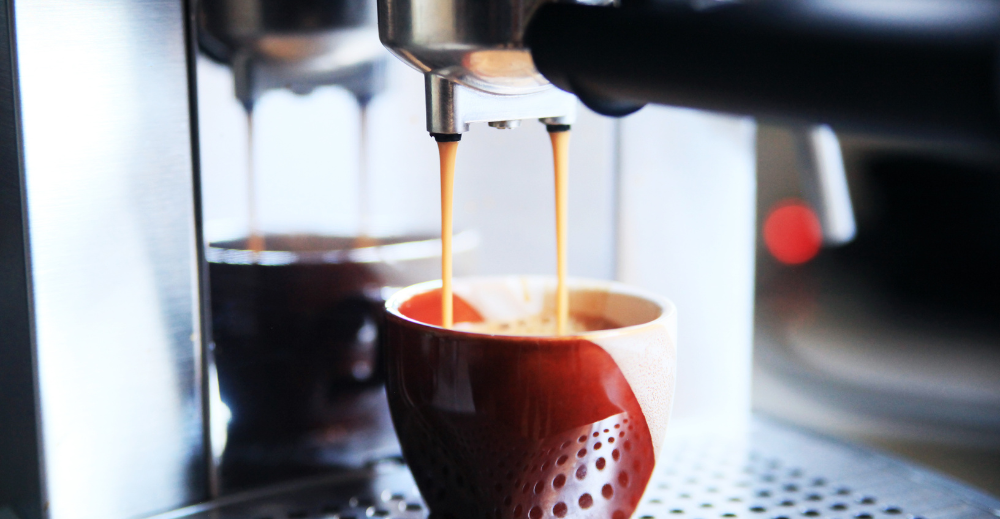
- Pull and time the shot. Start your timer at pump start. First drips should appear at 7-10 seconds. For a medium roast, target 36 g out between 27-32 seconds. Light roasts may run to 35 seconds.
- Taste and adjust one variable. Sour and fast? Grind finer one click. Bitter and slow? Grind coarser one click. Balanced? Write down the setting and the bag's origin. That's your reference for next time.
The grind mistakes worth fixing first
These are the failures that show up most often from home brewers, and none of them require new equipment to fix.
- Use beans roasted within the past 5-14 days. Under 4 days off roast, excess CO2 produces unstable crema that makes it impossible to read extraction quality. Over 6 weeks old, the aromatics are gone and no adjustment matters.
- Change only one thing between shots. Grind size first, always. If you adjust dose and grind at the same time, you'll never isolate which move caused what.
- Weigh both dose and yield. A 1 g variance in dose shifts your extraction yield by roughly 3 seconds.
- Match dose to basket size. 18 g in an 18 g basket; 20 g in a 20 g basket. The headspace spec isn't a suggestion.
- Pre-heat the group head. Run a blank shot of hot water through the empty portafilter for 10 seconds before pulling. Group-head temperature at equilibrium is meaningfully different from cold-start temperature, and that gap will throw off your first shot of the day.
- Clean the grinder burrs every 200 lb of roasted coffee, or every 2-3 months for home use. Roasting oils coat the burrs over time and shift the effective grind setting. The same dial position will produce finer grounds as the burrs glaze.
- Re-adjust when you open a new bag, even of the same roast. Bean density varies by harvest and processing batch; a setting that was perfect last month may run 4 seconds longer or shorter on a new bag.
- Extraction time is a proxy, not the goal. If the shot tastes good at 25 seconds, that's correct. If it tastes sour at 30 seconds, something else is off — likely distribution or puck integrity rather than grind size.
Frequently asked questions
What is the correct grind size for espresso?
Fine to medium-fine: roughly table-salt texture, about 200-400 microns median particle size. It should feel slightly gritty between your fingers, not powdery like flour. At that size, you should pull a 27-35 second shot at 9 bar with an 18 g dose and 36 g yield. Adjust one grinder click at a time: sour and fast means go finer, bitter and slow means go coarser.
Does it actually matter whether I use a burr grinder or a blade grinder?
More than any other equipment decision at the home level. Blade grinders produce random fragment sizes: parts of the puck over-extract while others under-extract, giving you a shot that tastes bitter and sour simultaneously. Burr grinders produce a consistent bimodal distribution that builds even puck resistance across the whole basket. A $250 flat-burr grinder paired with a $600 machine will outpull a $200 machine paired with a $50 blade grinder. Every time.
How many grams of coffee should I use for a double espresso?
18-20 g is the standard range, matched to your basket spec: 18 g basket takes an 18 g dose, 20 g basket takes a 20 g dose. That spec is stamped on the basket rim. Go over by 2 g and you've left insufficient headspace; the puck presses into the shower screen during pre-infusion and channels regardless of your grind setting.
Why does my espresso taste sour?
Sour espresso almost always means under-extraction. Water moved through the puck too fast and didn't dissolve enough soluble compounds. The most common cause is a grind that's too coarse. Tighten it one click and re-pull. If the shot is still running under 22 seconds, go finer one more click. Also check that your group-head temperature is at 93 °C and not cold-starting from the first shot of the day.
Why does my espresso taste bitter?
Bitterness points to over-extraction: water spent too long in contact with the grounds and pulled harsh, high-molecular-weight compounds. Grind coarser one click and check your shot time. If it's running past 38 seconds, that's your problem. Also verify you're not exceeding the basket dose spec; a packed, overdosed puck resists flow even at a grind setting that would otherwise be correct.
How often should I recalibrate my grind?
Every new bag, even of the same coffee. Bean density varies by harvest and processing batch, and a setting calibrated last month may run 4-5 seconds longer on a new bag. Recalibrate seasonally too if your kitchen temperature swings more than 10 °C between seasons, since bean moisture absorption shifts grind behavior enough to matter.
Does the grind setting change between light and dark roast?
Yes, noticeably. Dark-roasted beans are more porous and brittle, so they grind finer at the same dial position and extract faster. Light roasts are denser: they need a finer grind setting to build adequate resistance, plus a higher brew temperature (94-96 °C versus 89-92 °C for dark roast) and often a pre-infusion step. When you switch roast levels, plan on 5-10 shots of adjustment before the dial-in lands somewhere you're happy with.
Key takeaways:
- Grind fine (table-salt texture, 200-400 microns), dose 18 g, target 36 g yield in 27-32 seconds at 93 °C for medium roast.
- A flat-burr grinder with 64 mm burrs is the most impactful single equipment upgrade for home espresso. It matters more than machine brand.
- Change only one variable per shot, starting with grind size. Adjusting dose and grind simultaneously makes it impossible to isolate cause and effect.
- Beans are at their best 5-14 days after roast. Under 4 days produces unstable, gassy crema; past 6 weeks and the aromatics have degraded past recovery.
- Recalibrate grind with every new bag and every roast-level switch. Bean density differences shift shot time by 4-6 seconds even at the same dial position.
Article reviewed by the CoffeeRoast Co. Editorial Team. Primary references include Scott Rao's Espresso Extraction, James Hoffmann's espresso course, and the Socratic Coffee tamping-pressure study (2015).


R Brian
December 09, 2023
Thanks for the info. Good help